
Crispy & Creamy Mexican Chicken Taquitos Recipe
Introduction
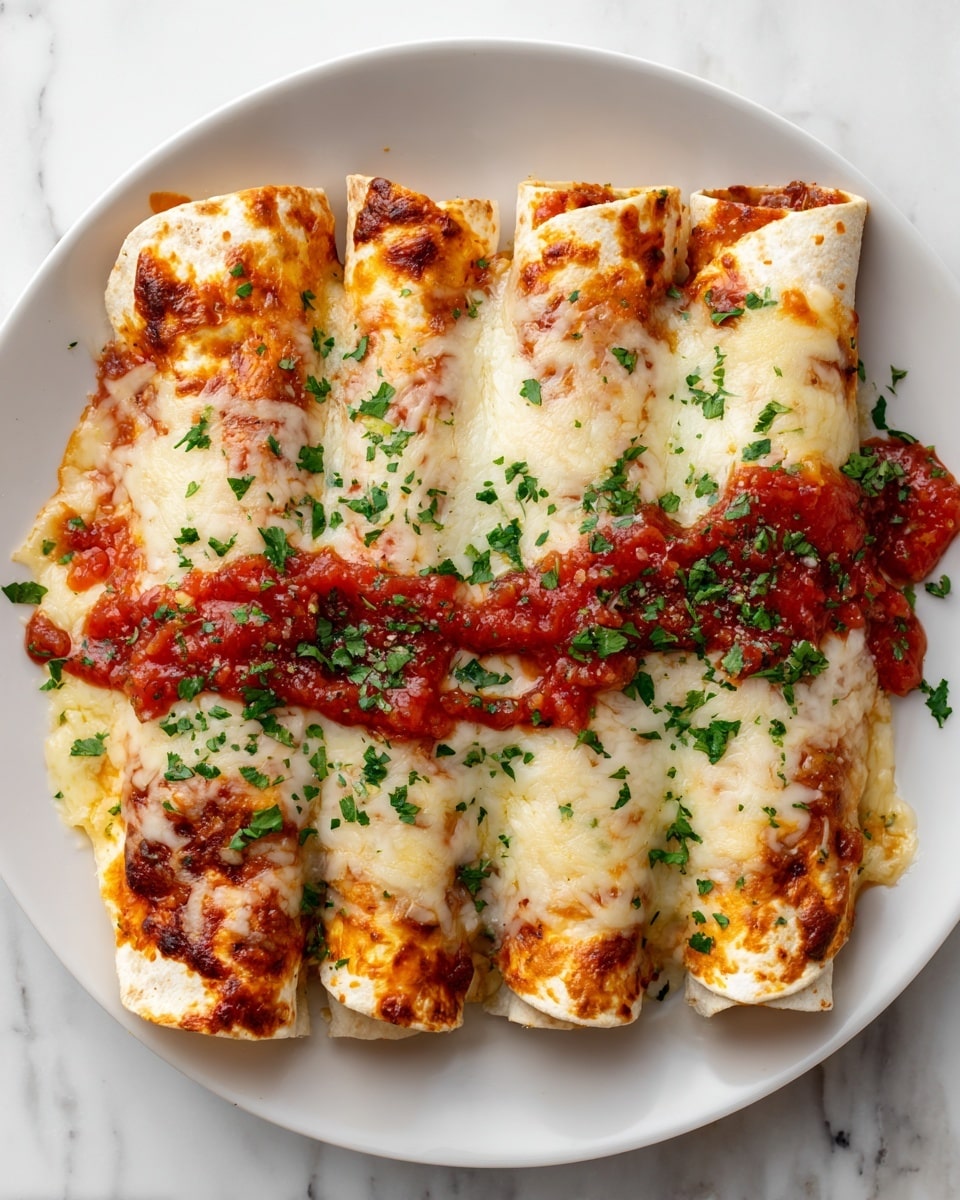
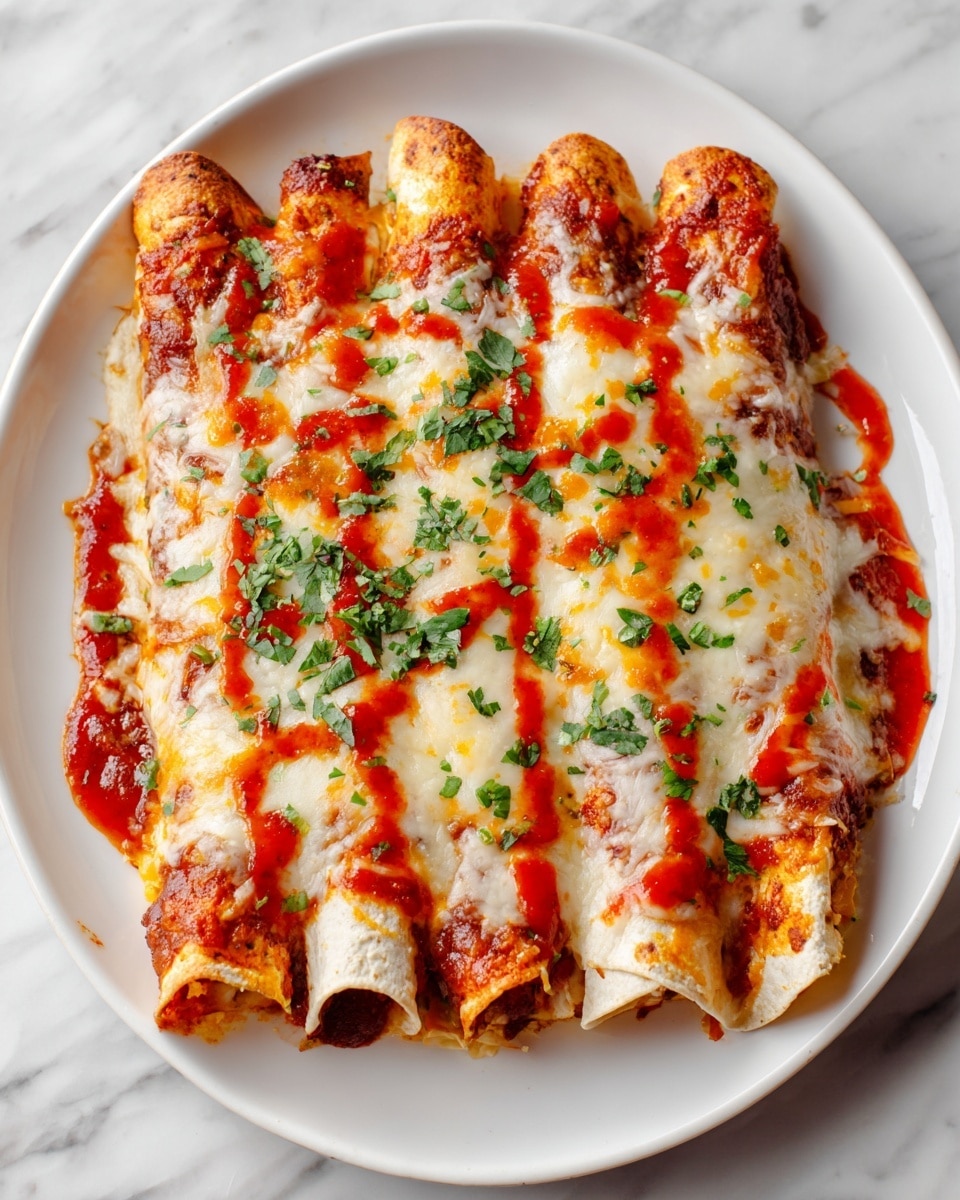
There’s something deeply satisfying about biting into a crispy, golden taquito filled with tender shredded chicken, melted cheese, and creamy goodness. This easy taquitos recipe delivers flavorful Mexican-inspired comfort food perfect for dinner or snacking.
Ingredients
- 3 cups cooked, shredded chicken (rotisserie works great)
- 6 oz cream cheese, softened
- 1 cup shredded Mexican blend cheese (or cheddar/Monterey Jack)
- 1 tsp garlic powder
- ½ tsp cumin
- Salt and pepper, to taste
- Optional: ½ cup salsa or green chiles for extra flavor
- 12 small flour or corn tortillas
- Cooking spray or oil for brushing (if baking)
- Oil for frying (if pan-frying)
Instructions
- Step 1: In a large mixing bowl, combine shredded chicken, softened cream cheese, shredded cheese, garlic powder, cumin, salt, and pepper. Mix until well combined and creamy.
- Step 2: Warm tortillas in the microwave between damp paper towels for 20–30 seconds to make them pliable and prevent cracking when rolling.
- Step 3: Spoon about 2–3 tablespoons of filling onto each tortilla. Roll tightly and place seam-side down on a baking sheet.
- Step 4: To bake, preheat oven to 425°F. Lightly spray taquitos with cooking spray and bake for 15–20 minutes until golden and crisp. To fry, heat oil in a skillet over medium heat and fry taquitos seam-side down until golden brown, turning as needed. Drain on paper towels before serving.
Tips & Variations
- For extra crunch, try air frying at 400°F for 7–10 minutes, flipping once.
- Use low-fat cream cheese or substitute with Greek yogurt in the filling.
- Add ½ cup salsa or chopped green chiles for extra flavor inside the filling.
- Bake rather than fry for a lighter, less oily option while keeping crispiness.
Storage
Store leftover taquitos in an airtight container in the refrigerator for up to 3 days. Reheat in a 350°F oven or air fryer for 5–7 minutes to restore crispness. Avoid microwaving to prevent sogginess.
How to Serve
Serve this delicious recipe with your favorite sides.
FAQs
Can I use corn tortillas instead of flour?
Yes, both flour and corn tortillas work well. Warming them wrapped in a damp towel helps prevent cracking when rolling.
Is it better to bake or fry taquitos?
Frying yields the crispiest texture and richer flavor, but baking at a high temperature (425°F) with a light spray of oil produces a satisfying crispier version that’s healthier.
PrintCrispy & Creamy Mexican Chicken Taquitos Recipe

Experience the perfect blend of crispy and creamy with this authentic Mexican-inspired Taquitos recipe. Tender shredded chicken is combined with rich cream cheese and melted Mexican blend cheese, seasoned with garlic and cumin, then rolled into warm tortillas and cooked to golden perfection. Whether baked or fried, these taquitos deliver a satisfying crunch and delicious filling, ideal for dinner or a flavorful snack.
- Prep Time: 15 minutes
- Cook Time: 20 minutes
- Total Time: 35 minutes
- Yield: 4–6 servings (about 12 taquitos) 1x
- Category: Dinner
- Method: Baking
- Cuisine: Mexican
Ingredients
Filling
- 3 cups cooked, shredded chicken (rotisserie works great)
- 6 oz cream cheese, softened
- 1 cup shredded Mexican blend cheese (or cheddar/Monterey Jack)
- 1 tsp garlic powder
- ½ tsp cumin
- Salt and pepper, to taste
- Optional: ½ cup salsa or green chiles for extra flavor
Taquitos
- 12 small flour or corn tortillas
- Cooking spray or oil for brushing (if baking)
- Oil for frying (if pan-frying)
Instructions
- Prepare the Filling: In a large mixing bowl, combine shredded chicken, softened cream cheese, shredded cheese, garlic powder, cumin, salt, and pepper. Mix thoroughly until all ingredients are well incorporated and the mixture is creamy.
- Warm the Tortillas: Place tortillas between damp paper towels and warm them in the microwave for 20–30 seconds. This step makes the tortillas pliable, preventing cracking during rolling.
- Roll the Taquitos: Spoon about 2–3 tablespoons of the prepared filling onto each tortilla. Roll each tortilla tightly, ensuring the filling is evenly distributed. Place the rolled taquitos seam-side down on a baking sheet to secure their shape.
- Bake or Fry: For baking, preheat the oven to 425°F, lightly spray the taquitos with cooking spray, and bake for 15–20 minutes until golden and crisp. For frying, heat oil in a skillet over medium heat and fry the taquitos seam-side down until golden brown, turning as needed for even cooking. Drain on paper towels before serving.
Notes
- Bake instead of fry for a healthier option – use a high oven temperature (425°F) to achieve crispiness.
- Air fry at 400°F for 7–10 minutes, flipping once, for extra crunch.
- Use low-fat cream cheese or substitute with Greek yogurt to reduce fat content.
Keywords: taquitos recipe, crispy taquitos, chicken taquitos, Mexican food, baked taquitos, fried taquitos, creamy taquitos, shredded chicken recipe
