
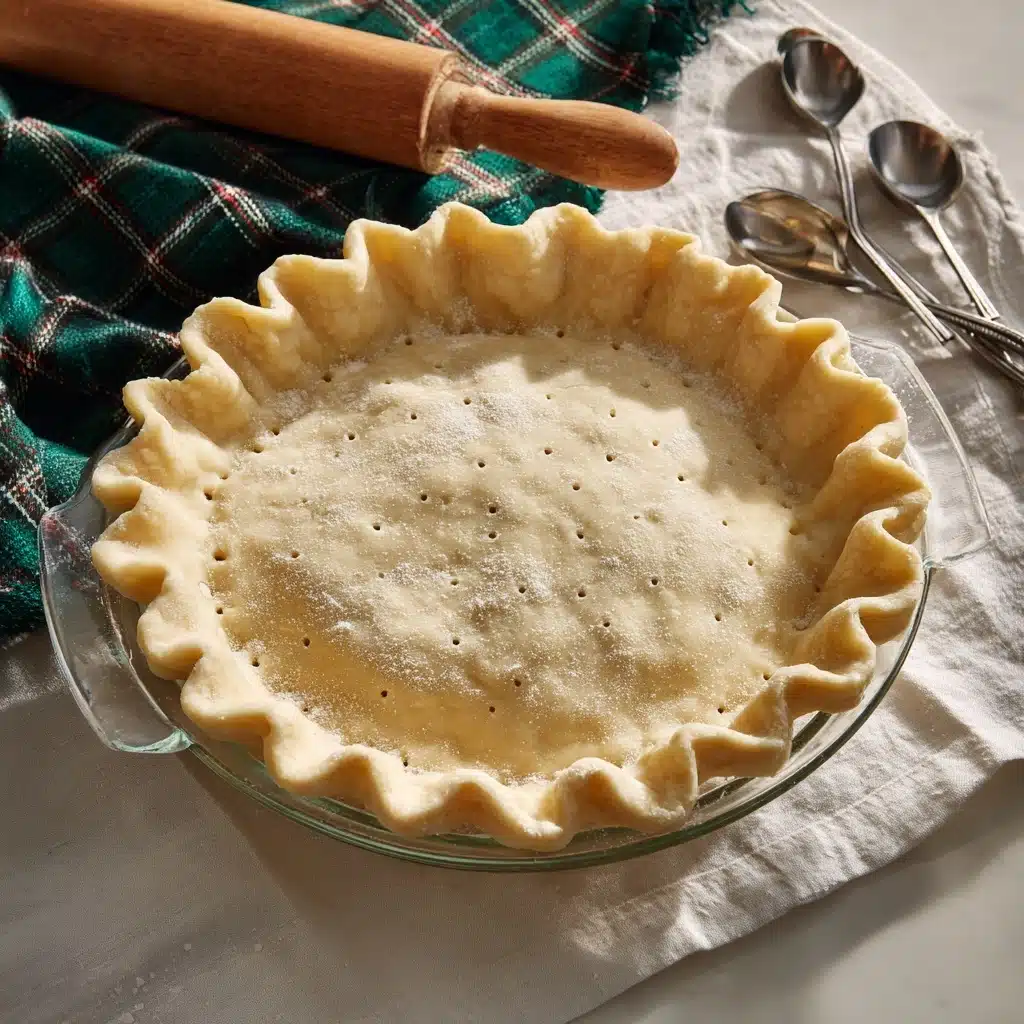
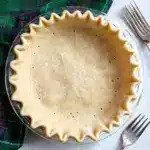
Flaky, Buttery Homemade Pie Crust Recipe
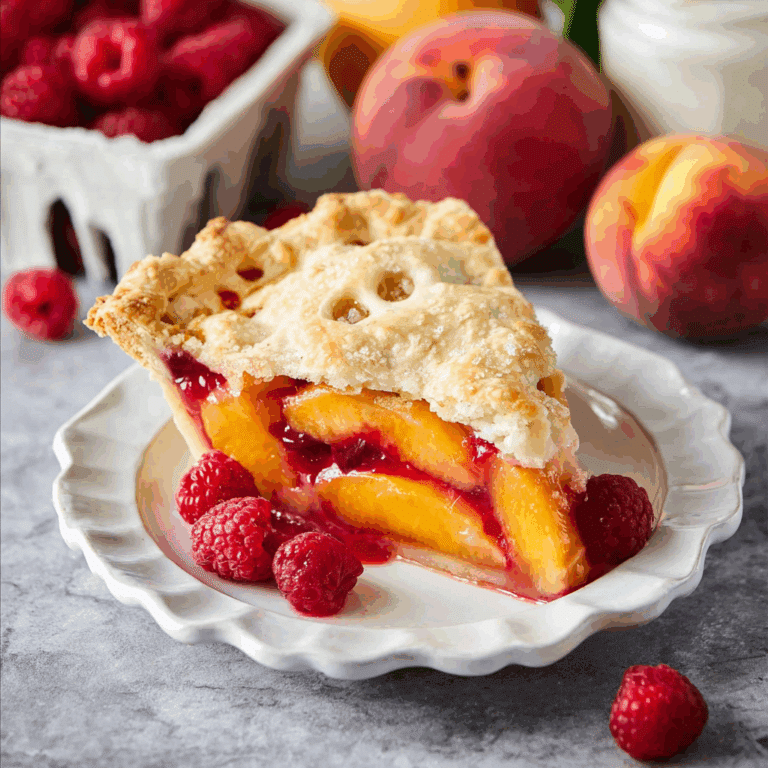
If you have ever dreamed of mastering that perfect pie crust, you’re in the right place because this Flaky, Buttery Homemade Pie Crust recipe is an absolute game changer. It strikes the ideal balance between tender and crisp, with layers of buttery goodness that practically melt in your mouth. Whether you’re making a classic apple pie, a dreamy custard, or just want a versatile crust base to build on, this recipe delivers consistently delightful results. From the simplicity of the ingredients to the satisfying process of bringing it together, it’s a kitchen ritual that’s worth savoring every single time.

Ingredients You’ll Need
One of the best parts about this Flaky, Buttery Homemade Pie Crust is how simple the ingredient list is, yet how essential each component is to achieving that remarkable texture and flavor. These familiar kitchen staples work together to create a crust that’s golden, tender, and perfectly flaky.
- 2 ¼ cups all purpose flour: The backbone of your crust, providing structure and that classic crumbly texture.
- ½ teaspoon salt: Enhances the flavor and balances the sweetness of your pie filling.
- 1 cup unsalted butter: Chilled and cubed, butter delivers the signature richness and those coveted flaky layers.
- 8-10 tablespoons ice water: Keeps the dough cool while binding everything together, ensuring your crust doesn’t become tough.
How to Make Flaky, Buttery Homemade Pie Crust
Step 1: Combine Dry Ingredients
Begin by measuring your all purpose flour and salt into a large mixing bowl, then whisk them together thoroughly. This simple step ensures even seasoning throughout the crust and prevents any lumps in the flour, setting a solid foundation for a flawless dough.
Step 2: Cut in the Butter
Pull your cold, unsalted butter from the fridge and cut it into small cubes. Adding the butter cubes to the flour mixture, use a pastry cutter or two forks to work the butter in until the texture resembles coarse crumbs. This is a crucial moment – the little bits of butter should still be visible because they create the flakiness you’re after when they bake and melt out, leaving those charming layers behind.
Step 3: Add Ice Water Gradually
Slowly drizzle in ice water, about a tablespoon at a time, gently stirring with a spatula after each addition. You want just enough liquid to bring the dough together without making it wet or sticky. The cold water keeps the butter firm and helps maintain the crust’s lovely crunch after baking.
Step 4: Form the Dough
Once your mixture looks shaggy with very few dry patches, dump it onto a clean surface or pastry mat. Use your hands to gently gather the dough and press it into a ball. Avoid overworking it – the key to that tender, flaky crust is gently handling the dough to preserve those buttery pockets.
Step 5: Divide and Chill
Cut your dough ball in half to create two smaller balls, perfect for standard 9-inch pie crusts. Wrap each ball tightly in plastic wrap and chill in the refrigerator for at least 30 minutes. This rest period allows the gluten to relax, which prevents shrinking during baking and enhances the flaky, buttery texture.
Step 6: Roll and Bake
When you’re ready, roll out one dough ball on a floured surface to your desired thickness and transfer it to your pie dish. For recipes requiring par-baking or blind baking, follow their specific instructions—usually lining the crust with parchment and filling it with pie weights or dry rice. This step keeps your crust from shrinking and ensures it bakes evenly into that golden perfection we all love.
How to Serve Flaky, Buttery Homemade Pie Crust
Garnishes
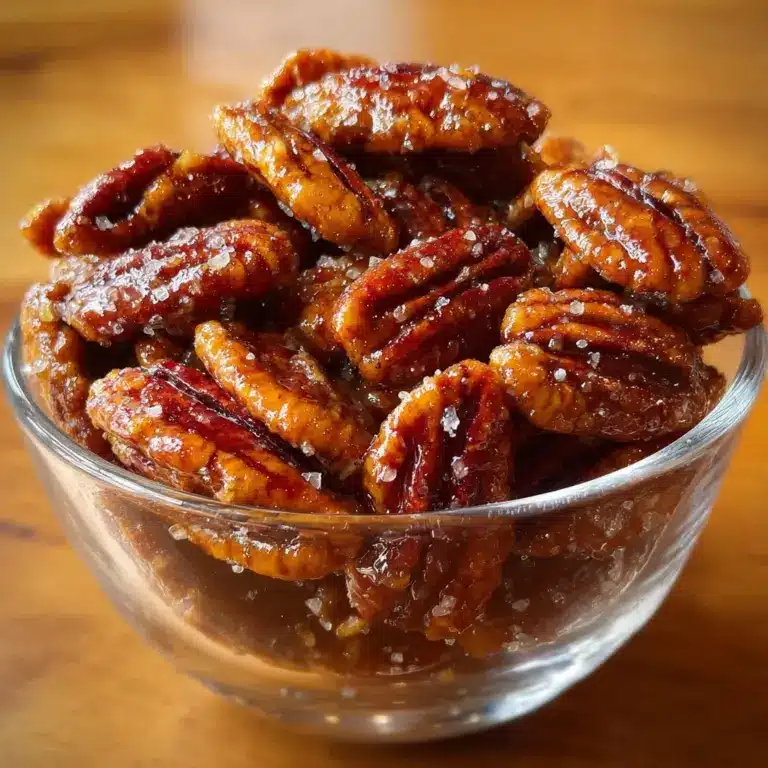
A perfectly baked pie crust deserves some simple yet elegant garnishes. A light dusting of powdered sugar, a brush of melted butter for gloss, or even some finely chopped toasted nuts can add a delightful finishing touch. These small enhancements subtly complement the crisp, buttery layers without overpowering their natural charm.
Side Dishes
While pie crust is usually the star, pairing your pie with fresh whipped cream, a scoop of vanilla ice cream, or even a vibrant berry compote can elevate the experience. These sides balance the richness of the Flaky, Buttery Homemade Pie Crust with creamy or fruity notes that add refreshing contrast.
Creative Ways to Present
Think outside the traditional pie pan! Use mini tart pans for individual servings, or cut the rolled-out dough into shapes to create lattice tops and decorative accents. You can also use the second dough ball for creating charming pie edges or little cut-out motifs to personalize your creation – the crust is as fun to decorate as it is to eat!
Make Ahead and Storage
Storing Leftovers
If you have leftover dough, wrap it tightly in plastic wrap and store it in the refrigerator for 2-3 days. This short-term storage keeps the butter cold and the dough ready for your next baking adventure without losing its flaky magic.
Freezing
For longer storage, freezing is a lifesaver. Simply wrap dough balls in plastic wrap and place them in a sealed freezer bag. Your dough will keep up to three months this way. When ready to use, thaw overnight in the refrigerator—easy, convenient, and equally delicious.
Reheating
Because this Flaky, Buttery Homemade Pie Crust is best enjoyed fresh, reheating is mostly reserved for baked pies. Warm pie slices gently in a low oven (about 300°F) for 10-15 minutes to re-crisp the crust without drying it out. Avoid microwaving, as it can make the crust soggy and lose its signature flakiness.
FAQs
Why does keeping butter cold matter?
Cold butter prevents it from melting into the flour, allowing it to remain in small chunks during baking. These chunks create pockets of steam that produce the final flaky texture that makes this pie crust so special.
How much should I roll out the dough?
A thickness of about 1/8 inch is ideal. Too thin, and the crust may tear; too thick, and it can become doughy rather than crisp. Rolling evenly also ensures consistent baking.
Can I substitute shortening or margarine for butter?
Butter offers unmatched flavor and flakiness for this recipe. While shortening can be used, expect a slightly different texture and less buttery taste. Unsalted butter is preferred for full control over seasoning.
What if my dough is too sticky?
Add a little more flour, a tablespoon at a time, to keep the dough manageable. Be careful not to add too much, or the crust may become tough. Chilling the dough also helps reduce stickiness.
How do I prevent the crust from shrinking?
Chill the dough well before baking and avoid stretching it too much while fitting it into the pan. Using pie weights or dry beans during blind baking helps maintain the crust’s shape perfectly.
Final Thoughts
Once you make this Flaky, Buttery Homemade Pie Crust, it’s hard to ever go back to store-bought versions. The joy of turning just a few simple ingredients into a base that’s crisp, tender, and full of rich buttery flavor never gets old. So grab your rolling pin and butter, and get ready to create a pie crust that will be your secret weapon for every pie-worthy occasion!
PrintFlaky, Buttery Homemade Pie Crust Recipe
This Flaky, Buttery Homemade Pie Crust recipe delivers a tender, crisp crust perfect for both sweet and savory pies. Using cold unsalted butter and ice water keeps the dough flaky and light, making it ideal for any pie filling. The easy-to-follow steps allow home bakers to create professional-quality crust from scratch with simple ingredients.
- Prep Time: 15 minutes
- Cook Time: 12-15 minutes (par-baking, if required)
- Total Time: 15 minutes prep plus optional baking time
- Yield: Two 9-inch pie crusts 1x
- Category: Baking
- Method: Mixing, Cutting in Butter, Rolling, Blind Baking (optional)
- Cuisine: American
- Diet: Vegetarian
Ingredients
Dry Ingredients
- 2 & ¼ cups all-purpose flour
- ½ teaspoon salt
Wet Ingredients
- 1 cup unsalted butter (cold, cut into small cubes)
- 8–10 tablespoons ice water
Instructions
- Combine Dry Ingredients: Measure the all-purpose flour and salt into a mixing bowl and whisk them together thoroughly to ensure even distribution of salt throughout the flour.
- Add Butter: Remove the cold unsalted butter from the refrigerator and cut it into small cubes. Add the butter cubes to the dry flour and salt mixture.
- Cut in Butter: Using a pastry cutter or two forks, cut the butter into the flour mixture until it resembles coarse crumbs with some pea-sized chunks remaining to ensure flakiness.
- Add Ice Water: Gradually add ice water, one tablespoon at a time, stirring with a spatula after each addition. Continue until the dough holds together with little to no dry flour remaining, forming a shaggy dough.
- Form Dough Balls: Turn the dough out onto a clean, dry surface or pastry mat and gently press it into a ball. Cut the dough ball in half with a knife or bench scraper to form two smaller balls. Each ball will make one 9-inch pie crust.
- Roll Out Dough: Roll each ball of dough out into a circle large enough to fit your pie dish. Transfer the rolled dough to the pie dish. If not using immediately, wrap the dough balls tightly in cellophane.
- Storage: Store wrapped dough in the refrigerator for 2-3 days or freeze for up to 3 months for later use.
- Baking Instructions: Follow your pie recipe’s instructions for baking. Some recipes may require par-baking or blind baking. To blind bake, line the raw crust with parchment paper and fill it with dry rice, beans, or pie weights to prevent shrinking and puffing. Optional: poke small holes in the crust to further prevent puffing.
Notes
- Butter Temperature: Keep your butter cold by storing it in the refrigerator right up until use to ensure a flaky crust.
- Use Ice Water: Ice water helps keep the fat solid in the dough which creates flakiness when baked.
- Par or Blind Baking: If your pie recipe requires, line the crust with parchment paper and fill with dry rice or beans to avoid shrinking and bubbling.
- Storage Tips: Dough can be refrigerated for 2-3 days or frozen for up to 3 months wrapped tightly in plastic wrap.
Nutrition
- Serving Size: 1/8 of one 9-inch pie crust
- Calories: 180
- Sugar: 0.1 g
- Sodium: 110 mg
- Fat: 14 g
- Saturated Fat: 8.5 g
- Unsaturated Fat: 5 g
- Trans Fat: 0 g
- Carbohydrates: 12 g
- Fiber: 0.5 g
- Protein: 2 g
- Cholesterol: 40 mg
Keywords: pie crust, homemade pie dough, flaky pie crust, buttery pie crust, baking, pastry dough, blind baking, par-baking, pie shell

