
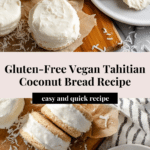
Gluten-Free Vegan Tahitian Coconut Bread Recipe
Introduction
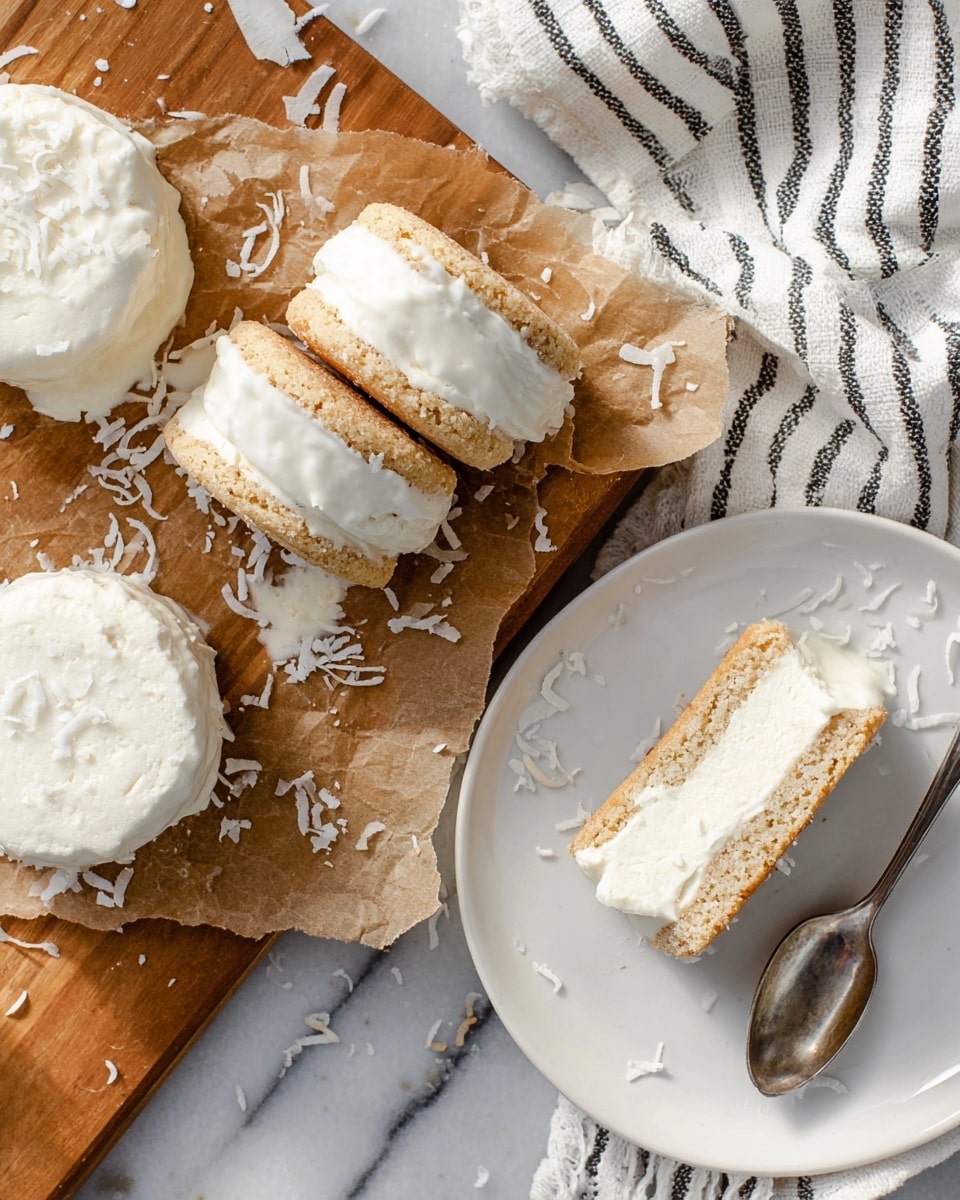
This Gluten-Free, Vegan Tahitian Coconut Bread is a sweet and aromatic treat perfect for breakfast or an afternoon snack. With fresh coconut and a tender crumb, it brings a tropical island flair right to your kitchen. Enjoy it plain, toasted, or with your favorite toppings for a delightful bite.

Ingredients
- 2 cups fresh coconut, grated
- 2 tsp baking powder
- 1 1/2 cups granulated sugar
- 1 1/2 cups water
- 4 cups gluten-free flour, additional as needed
For Coconut Icing (optional):
- 1 cup unsweetened coconut flakes
- 1 1/2 cups powdered sugar
- 1/4 cup unsweetened coconut milk
- 1 tsp coconut extract
Additional toppings (optional):
- Sliced fresh fruit (like strawberries, nectarines, bananas, blueberries, etc)
- Jam
- Vegan butter substitute
Instructions
- Step 1: Preheat your oven to 350 degrees Fahrenheit (175°C).
- Step 2: In a large bowl, combine the grated fresh coconut and baking powder.
- Step 3: Add the granulated sugar and water to the bowl, stirring gently until just combined.
- Step 4: Gradually add the gluten-free flour in 1/2 cup increments, gently mixing after each addition until you reach a doughy texture.
- Step 5: Add more flour if needed to ensure the dough is not too sticky and can be handled easily.
- Step 6: Divide the dough into five equal portions.
- Step 7: Roll each portion into a log shape and wrap each log tightly in aluminum foil.
- Step 8: Place the wrapped logs on a baking sheet and bake for 1 to 1 1/2 hours, until the bread is fully set.
- Step 9: Remove from the oven and let cool for 10 minutes before unwrapping and slicing.
- Step 10 (optional): To make the coconut icing, mix the coconut flakes, powdered sugar, unsweetened coconut milk, and coconut extract until smooth and well combined. Spread over cooled bread if desired.
Tips & Variations
- For a crispier texture, slice the bread and toast it lightly before serving.
- If fresh coconut isn’t available, you can substitute with unsweetened shredded coconut, though fresh provides the best flavor.
- Feel free to add vanilla extract or a pinch of cinnamon to the dough for extra aroma.
- The bread dough may be denser than traditional versions but remains moist and sweet thanks to the coconut and sugar.
Storage
Store leftover bread in an airtight container at room temperature for up to 3 days or refrigerate for up to a week. To enjoy later, toast slices lightly to refresh texture and flavor. The coconut icing (if made) should be stored separately in the refrigerator and added just before serving.
How to Serve
Serve this delicious recipe with your favorite sides.
FAQs
Can I use dried coconut instead of fresh?
While dried coconut can be used, fresh grated coconut provides a richer flavor and moist texture, which is key to this bread’s authentic taste.
Is this bread suitable for those with gluten intolerance?
Yes, this recipe uses gluten-free flour to accommodate gluten intolerance and is also vegan-friendly, making it suitable for those with multiple dietary needs.
PrintGluten-Free Vegan Tahitian Coconut Bread Recipe

This Gluten-Free, Vegan Tahitian Coconut Bread is a delightful and sweet treat featuring fresh grated coconut and gluten-free flour, perfect for those with dietary restrictions. The bread is moist and dense, baked to perfection in individual foil-wrapped logs and optionally topped with a rich coconut icing. Toasting slices enhances its flavor, making it a versatile snack or breakfast option that celebrates Polynesian-inspired flavors.
- Prep Time: 20 minutes
- Cook Time: 1 hour 30 minutes
- Total Time: 1 hour 50 minutes
- Yield: 5 bread logs (slices dependent on thickness, approx 20–25 slices) 1x
- Category: Bread
- Method: Baking
- Cuisine: Polynesian
- Diet: Gluten Free, Vegan
Ingredients
For Coconut Bread:
- 2 cups fresh coconut, grated
- 2 tsp baking powder
- 1 1/2 cups granulated sugar
- 1 1/2 cups water
- 4 cups gluten-free flour, additional as needed
For Coconut Icing (optional):
- 1 cup unsweetened coconut flakes
- 1 1/2 cups powdered sugar
- 1/4 cup unsweetened coconut milk
- 1 tsp coconut extract
Additional toppings (optional):
- Sliced fresh fruit (strawberries, nectarines, bananas, blueberries, etc.)
- Jam
- Vegan butter substitute
Instructions
- Preheat Oven: Preheat your oven to 350 degrees Fahrenheit to prepare for baking the coconut bread logs.
- Mix Dry Ingredients: In a large bowl, combine the grated fresh coconut and baking powder, mixing well to evenly distribute the leavening agent.
- Add Sugar and Water: Stir in the granulated sugar and water, mixing just until everything is combined to create a wet mixture ready for flour incorporation.
- Incorporate Flour: Gradually add the gluten-free flour in 1/2 cup increments, gently mixing after each addition until a doughy consistency forms. Add more flour if necessary to ensure the dough is not too sticky but still pliable.
- Shape the Dough: Divide the dough evenly into five portions. Roll each portion into a log shape, ensuring uniformity for even baking.
- Wrap Logs: Wrap each dough log tightly in aluminum foil to retain moisture and shape during baking.
- Bake: Place the wrapped dough logs in the oven and bake for 1 to 1 1/2 hours until the bread is set and firm to the touch.
- Cool and Slice: Remove the bread logs from oven and let cool for 10 minutes before carefully unwrapping. Slice the bread as desired for serving.
- Prepare Icing (Optional): In a separate bowl, mix unsweetened coconut flakes, powdered sugar, unsweetened coconut milk, and coconut extract until smooth and well combined to create a flavorful coconut icing.
- Serve: Optionally spread icing on slices, or top with fresh fruit, jam, or a vegan butter substitute. The bread can also be lightly toasted to enhance flavor and texture.
Notes
- This bread is delightful when sliced and toasted slightly for added texture and warmth.
- The original recipe from the Polynesian Cultural Center in Laie, Oahu is not gluten-free; this adaptation makes it suitable for gluten-free and vegan diets though the bread will be slightly denser.
- The coconut icing is optional but adds a sweet, tropical finish to the bread.
- Feel free to customize toppings such as fresh fruit, jam, or vegan butter according to personal preference.
Keywords: gluten-free coconut bread, vegan Tahitian bread, Polynesian coconut bread, gluten-free bread, vegan baking, coconut bread recipe


