
Greek Pita Recipe
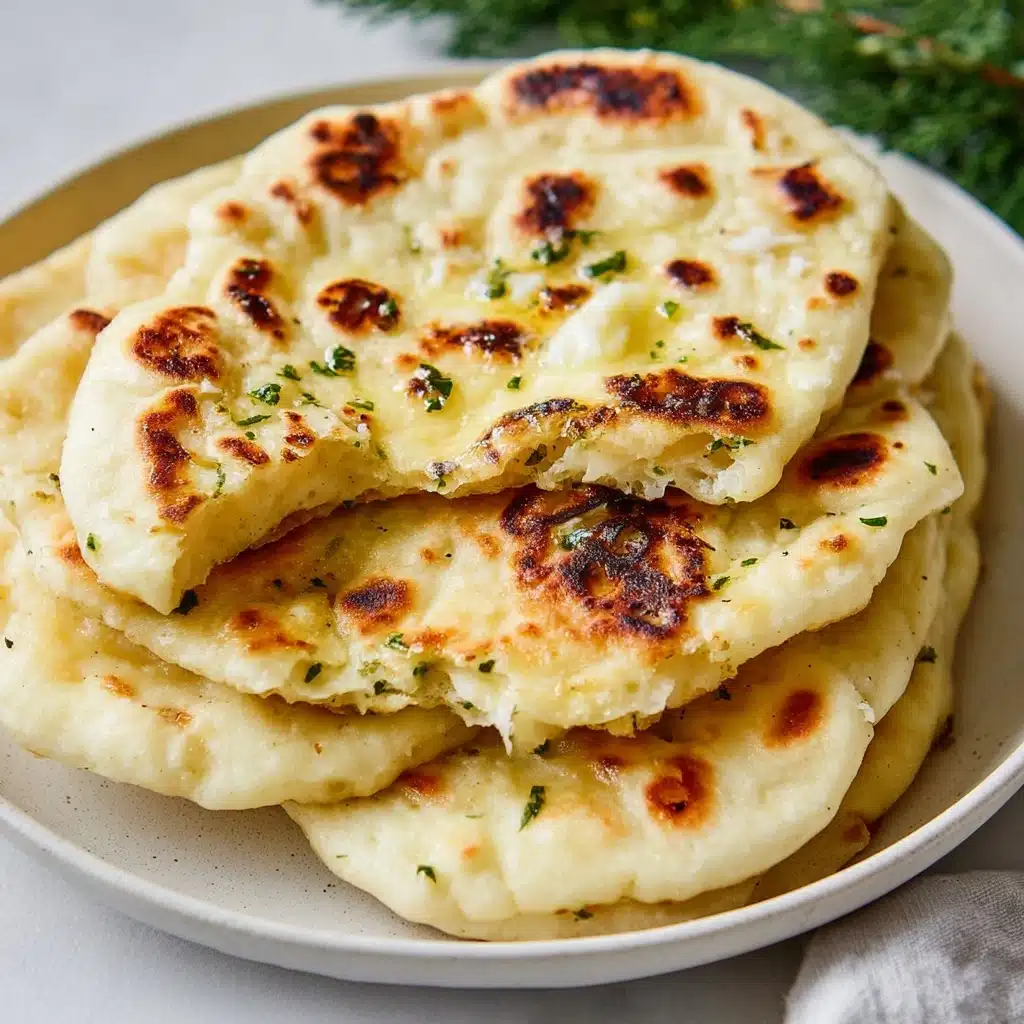
If you’ve ever wanted to bring a slice of Greece into your kitchen in the simplest and most delicious way, then this Greek Pita recipe is calling your name. This soft, pillowy flatbread, with its golden, slightly charred exterior and tender crumb, is a versatile culinary gem that perfectly complements anything from vibrant dips to hearty grilled meats. Mastering homemade Greek Pita means embracing a warm, fragrant bread that transforms any meal into a Mediterranean feast. Trust me, once you try making and tasting this classic bread, it will quickly become a beloved staple in your home cooking repertoire.
Ingredients You’ll Need
The beauty of making Greek Pita lies in its simplicity. With just a handful of straightforward ingredients, each one plays a crucial role in delivering the bread’s characteristic texture, flavor, and color. Let’s take a look at what you’ll need:
- All-purpose flour (1 ½ cups): The backbone of your dough, providing structure and a perfect chewy texture.
- Active dry yeast (1 tablespoon): This little powerhouse gives the dough its airiness and helps it rise beautifully.
- Kosher salt (1 teaspoon): Essential for balancing flavors and enhancing the overall taste.
- Warm milk (⅓ cup): Adds a subtle richness and softness to the pita bread.
- Warm water (⅓ cup): Works in tandem with the yeast to activate the dough’s rise.
- Olive oil (2 tablespoons plus extra): Infuses the dough with that signature Mediterranean flavor and helps keep the pita soft, both in the bowl and for cooking.
How to Make Greek Pita
Step 1: Combine Your Dry Ingredients
Start by mixing the all-purpose flour, active dry yeast, and kosher salt in a large bowl. This blend forms the foundation for your dough, making sure the yeast is evenly distributed for a consistent rise. Take a moment to appreciate the aromas already beginning to mingle.
Step 2: Add the Warm Liquids
Pour in the warm milk and water, then mix until the dough begins to come together. Using warm liquids ensures your yeast wakes up happily and helps the dough develop that soft texture we’re aiming for. It’s like giving your dough a cozy little morning coffee!
Step 3: Incorporate Olive Oil and Knead
Finally, introduce the olive oil to the mix. Now, knead the dough in the bowl for a few minutes until it forms a smooth, cohesive ball. The olive oil is what will make these pitas tender with a hint of that unmistakable Greek zest.
Step 4: Let the Dough Rise
Rub olive oil all over a clean bowl, then place your dough inside, turning it once so the entire surface gets a light coating of oil. Cover with plastic wrap and let it rest for about an hour or until doubled in size. Watching this transformation is like witnessing a little miracle in your kitchen!
Step 5: Shape Your Pitas
Dust your work surface with flour and remove the dough from the bowl. Divide it into 8 equal pieces. Gently stretch each piece into a round, about 7-8 inches wide, and then roll with a pin to about ¼ inch thickness. These circles should be thin, but not paper-thin – perfect for puffing up on the griddle.
Step 6: Cook Your Greek Pita
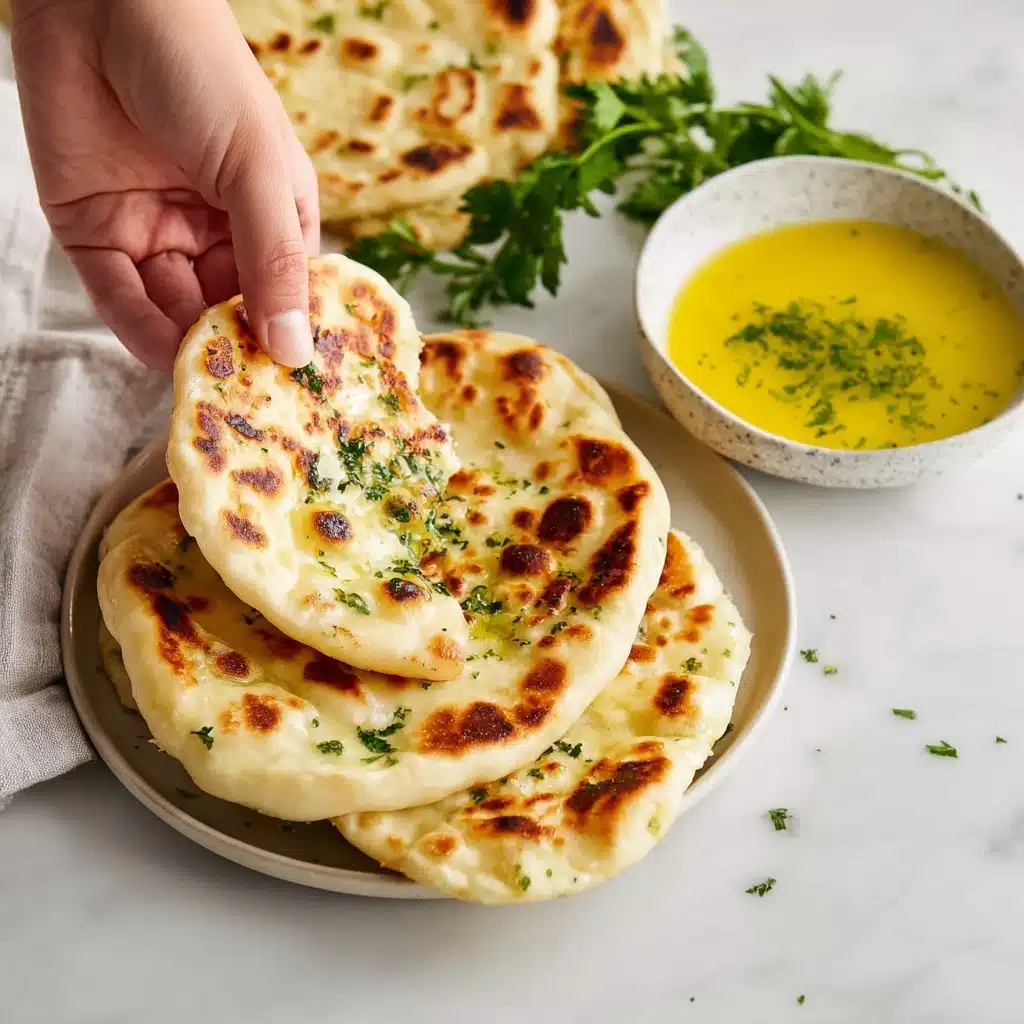
Heat a cast iron pan over high heat with a teaspoon of olive oil. Place one pita in the pan and cook for about one minute. Drizzle a little olive oil on top, then flip and cook for another minute until you see those irresistible golden spots and slight puffiness reminiscent of classic Greek pita bread.
Step 7: Optional Garlic Herb Butter Finish
If you want to elevate your Greek Pita even more, brush them with melted garlic and herb butter right after cooking. The garlic adds savory richness, making every bite an absolute delight.
How to Serve Greek Pita
Garnishes
A simple sprinkle of flaky sea salt, a drizzle of extra virgin olive oil, or a dusting of za’atar herb blend can add layers of flavor and elevate your Greek Pita. Fresh herbs like oregano or dill also complement the bread beautifully, awakening the senses with their bright notes.
Side Dishes
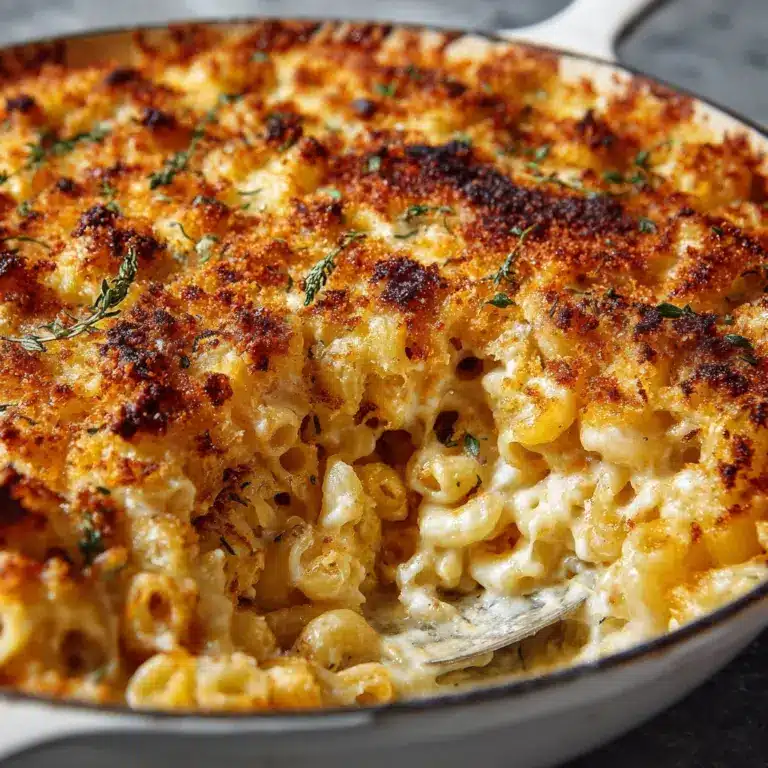
Greek Pita is a versatile teammate for an array of side dishes. Pair it with creamy tzatziki, vibrant hummus, or a classic Greek salad for a light and refreshing experience. It also shines alongside grilled meats like souvlaki, or stacked with tender lamb or chicken gyros.
Creative Ways to Present
Take your Greek Pita up a notch by stuffing them with roasted vegetables, fresh greens, and tangy feta cheese for a quick lunch wrap. You can also cut them into triangles and serve as warm, homemade pita chips – perfect for dipping. Presentation is all about sharing the joy of this bread in fresh, fun ways.
Make Ahead and Storage
Storing Leftovers
Wrap your leftover Greek Pita tightly in plastic wrap or store them in an airtight container to maintain softness. Kept at room temperature, they’re best enjoyed within 2 days, but you can refrigerate them for up to 4 days without losing much of their fresh-baked charm.
Freezing
If you want to keep a batch for longer, freeze your pitas in a zip-top freezer bag separated by parchment paper. Frozen Greek Pita stay great for up to 3 months and thaw quickly at room temperature or in a quick toaster oven warm-up.
Reheating
To bring back that fresh-baked softness, reheat pita on a hot skillet or in the oven wrapped in foil. Avoid microwaving too long or they might turn chewy. A quick toast or pan warm-up makes them almost indistinguishable from when freshly baked.
FAQs
Can I use whole wheat flour to make Greek Pita?
Absolutely! Swapping all-purpose flour for whole wheat will result in a nuttier, heartier pita. You might want to adjust hydration slightly by adding a bit more water, as whole wheat flour absorbs more liquid.
What if I don’t have a cast iron pan? Can I use another pan?
Yes, any heavy-bottomed skillet or non-stick pan will work fine. The key is heating it well before cooking so you get that quick puff and golden finish on your pita.
How do I know when the pita is cooked properly?
Look for golden brown spots popping up, slight puffing as the pita cooks, and a soft but sturdy texture. It should feel flexible but fully cooked through without doughiness.
Is it necessary to add olive oil to the bowl when letting dough rise?
Adding olive oil prevents sticking and helps keep the dough surface moist for a better rise, but if you don’t have any, lightly dusting with flour is an okay alternative.
Can I make Greek Pita vegan?
Yes! Simply swap the milk for a non-dairy alternative like almond or oat milk, and you’re all set for a delicious vegan-friendly Greek Pita that still bakes up soft and tasty.
Final Thoughts
There is something truly special about making Greek Pita from scratch — the smell, the feel, and, of course, the taste. It’s a wonderfully rewarding project that brings a little warmth and tradition to your table. Whether you’re dipping, stuffing, or just enjoying it plain, I encourage you to dive in and try this recipe. Once you experience the charm of fresh Greek Pita, making it again will be a no-brainer, guaranteed to add a little Mediterranean sunshine to your meals.
PrintGreek Pita Recipe
This authentic Greek Pita recipe delivers soft, fluffy flatbreads perfect for dipping, stuffing, or serving alongside your favorite Mediterranean dishes. Made with simple ingredients like flour, yeast, olive oil, and warm milk, these pitas have a tender crumb and a slightly chewy texture with a golden crust. Ideal as an appetizer or side dish, they are quick to prepare and cook in a hot skillet within minutes.
- Prep Time: 10 minutes
- Cook Time: 15 minutes
- Total Time: 1 hour 25 minutes
- Yield: 8 pita breads 1x
- Category: Appetizer, Side Dish
- Method: Stovetop cooking, Kneading
- Cuisine: Greek
- Diet: Vegetarian
Ingredients
Dough Ingredients
- 1 ½ cups all purpose flour, plus more for surface
- 1 tablespoon active dry yeast
- 1 teaspoon kosher salt
- ⅓ cup milk, warm
- ⅓ cup water, warm
- 2 tablespoons olive oil, plus more for the bowl and cooking
Instructions
- Combine Dry Ingredients: In a large bowl, whisk together the flour, active dry yeast, and kosher salt to evenly distribute the ingredients.
- Add Wet Ingredients: Pour in the warm milk and water, mixing until a rough dough forms.
- Knead the Dough: Add the olive oil and knead the dough inside the bowl for about 5-7 minutes until it comes together as a soft, elastic ball.
- Proof the Dough: Lightly oil a clean bowl, coat the inside with olive oil using a brush or fingers, and place the dough inside. Cover tightly with plastic wrap and let it rest in a warm place for 1 hour, or until doubled in size.
- Divide and Shape: Lightly flour your work surface. Remove the dough from the bowl and cut it into 8 equal pieces. Using your hands, gently stretch each piece into a small circle, then roll it out with a rolling pin to about ¼ inch thickness and roughly 7-8 inches in diameter.
- Cook the Pitas: Heat a cast iron pan over high heat and add 1 teaspoon of olive oil. Place one rolled pita in the pan and cook for about 1 minute until bubbles form and the bottom is golden. Drizzle a little olive oil on top, flip, and cook for another minute. Remove and keep warm. Repeat with remaining pieces.
- Optional Finish: Brush the warm pitas with melted garlic and herb butter for extra flavor before serving.
Notes
- Use warm milk and water to activate the yeast effectively but avoid temperatures above 110°F to prevent killing the yeast.
- Make sure the dough doubles in size during proofing for a fluffy texture.
- If you don’t have a cast iron pan, use any heavy-bottomed skillet or non-stick pan that can get very hot.
- These pitas are best enjoyed fresh but can be stored in an airtight container for up to 2 days or frozen for longer storage.
- To reheat, warm them in a skillet or wrapped in foil in the oven.
- The garlic and herb butter is optional but adds a wonderful aromatic touch.
Nutrition
- Serving Size: 1 pita bread
- Calories: 124
- Sugar: 1g
- Sodium: 296mg
- Fat: 4g
- Saturated Fat: 1g
- Unsaturated Fat: 3.5g
- Trans Fat: 0g
- Carbohydrates: 19g
- Fiber: 1g
- Protein: 3g
- Cholesterol: 1mg
Keywords: easy pita recipe, Greek pita, Greek side dish, pita bread, pita recipe


