
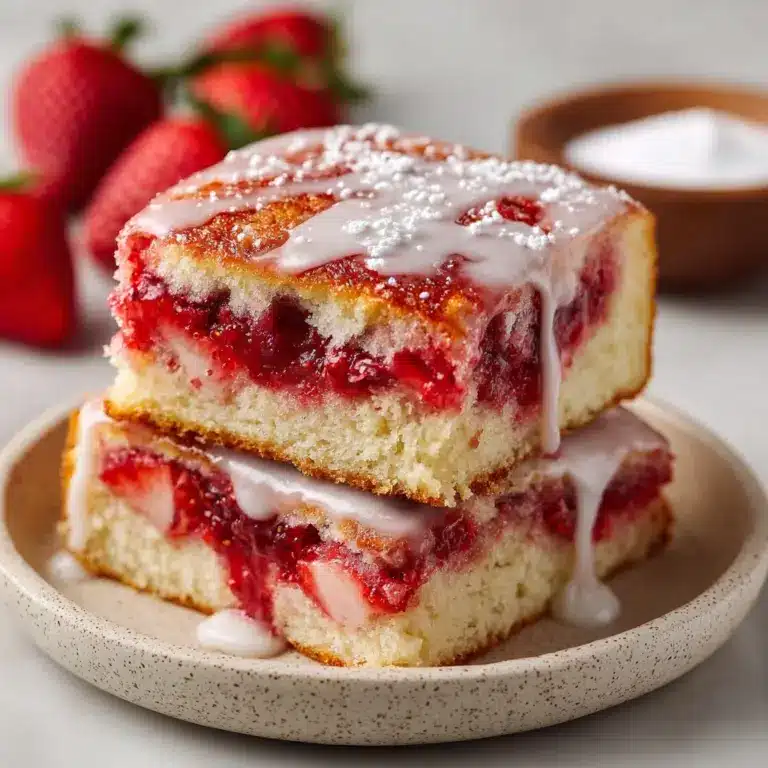
How to Make Traditional Japanese Mochi in 30 Minutes Recipe
Get ready to fall in love with the irresistible charm of How to Make Traditional Japanese Mochi in 30 Minutes! This recipe is a joyful tribute to Hawaii’s beloved butter mochi, where classic Japanese chewy textures meet the creamy coconut richness that locals adore. The best part? You can whip up this treat in about half an hour of hands-on time, and after a cozy bake, you’ll have a tray of sweet, golden mochi squares just waiting to share (or not!). If you’re seeking that perfect, gluten-free dessert that’s as fun to make as it is to eat, this step-by-step guide is your new best friend.
Ingredients You’ll Need
Butter mochi is a masterclass in how a handful of everyday ingredients can create something magical. Each element plays a starring role in conjuring the signature chew and comforting sweetness of mochi, so don’t skip or substitute these key players!
- Mochiko flour: This sweet rice flour forms the classic mochi texture—stretchy, bouncy, and perfectly chewy.
- Granulated sugar: Sweetness balances the coconut and butter, making each bite a delicious treat.
- Large eggs: These bind the batter and add a lovely rich structure to the mochi.
- Melted unsalted butter: Butter brings tenderness and a hint of luscious, nutty flavor.
- Evaporated milk: Using canned milk gives an ultra-creamy foundation that can’t be beat.
- Coconut milk: This brings the tropical flair and moist crumb—one bite and you’ll be hooked!
- Vanilla extract: Just a splash rounds out all the flavors with a warm, inviting aroma.
- Baking powder: This tiny addition helps the mochi rise, creating that light, soft finish.
How to Make How to Make Traditional Japanese Mochi in 30 Minutes
Step 1: Set the Stage
Begin by preheating your oven to 350°F (175°C). Don’t rush this part—an evenly heated oven makes sure your mochi cooks to golden perfection. While that’s happening, grease a 9×13 inch baking pan using butter or a neutral oil. This simple prep guarantees easy-release squares when it’s time to cut and serve.
Step 2: Mix Your Dry Ingredients
In a large mixing bowl, combine the mochiko flour, granulated sugar, and baking powder. Give them a quick whisk to break up any clumps and distribute the baking powder evenly. This is essential for making sure every bite has the right texture and a gentle, even rise.
Step 3: Whisk the Wet Ingredients
Grab a second bowl and whisk together the melted unsalted butter, evaporated milk, coconut milk, eggs, and vanilla extract. The key here is to fully incorporate the eggs and blend the fats seamlessly—this gives your mochi batter its signature creaminess and chew. Whisk until everything is well combined and delightfully smooth.
Step 4: Combine and Make the Batter
Pour your wet mixture into the dry bowl. Roll up your sleeves and gently fold everything together until no streaks remain. It’s totally normal for the batter to be quite runny—that’s exactly what you want for perfectly elastic, tender mochi. Just be careful not to overmix!
Step 5: Pour and Bake
Transfer the batter to your prepared pan, using a spatula to even out the surface. Pop it into the oven and bake for 50 to 60 minutes. The mochi is ready when the top looks golden and springs back gently under your fingertip. If your kitchen smells like sweet butter and toasted coconut, you’re on the right track!
Step 6: Cool and Slice
Here comes the hard part: patience! Let your pan cool completely after baking. This helps the mochi set to the perfect texture and makes cutting a breeze. Once cooled, use a sharp knife to slice it into bite-sized squares or rectangles. Wipe your knife between cuts for those clean, picture-perfect edges.
How to Serve How to Make Traditional Japanese Mochi in 30 Minutes
Garnishes
The beauty of butter mochi is that it’s wonderful on its own, but a little garnish goes a long way. Try lightly dusting each square with powdered sugar or a scattering of toasted coconut flakes for extra texture. For a pop of color, sprinkle on some matcha powder or edible flowers before serving—it’s as pretty as it is tasty!
Side Dishes
Butter mochi pairs beautifully with fresh-cut fruit, especially mango, pineapple, or strawberries. For a tea party spread, serve it alongside green tea or hot coffee. If you’re in the mood for indulgence, a scoop of vanilla ice cream next to warm mochi is pure dessert bliss.
Creative Ways to Present
Level up your presentation by cutting How to Make Traditional Japanese Mochi in 30 Minutes into playful shapes using cookie cutters. For parties, skewer cubes with toothpicks and arrange on a platter, or layer pieces in mini dessert shooters with coconut whipped cream and fruit for a show-stopping treat. Don’t be afraid to get creative!
Make Ahead and Storage
Storing Leftovers
Store your leftover mochi in an airtight container at room temperature for up to three days. The texture is best the first day or two, so seal it well to keep it soft and chewy. Avoid refrigerating as that can make the mochi dry and tough.
Freezing
If you’d like to keep mochi for longer, freezing is a great option. Place individual squares between layers of parchment in a freezer-safe container and freeze for up to one month. Thaw at room temperature for a few hours before enjoying—it keeps its springy bite!
Reheating
If you prefer mochi slightly warm, pop a piece into the microwave for about 10 seconds. This revives its soft, stretchy texture—just don’t overheat or it can become rubbery. For large batches, wrap in foil and warm gently in a low oven.
FAQs
Can I use regular rice flour instead of mochiko flour?
For authentic texture in How to Make Traditional Japanese Mochi in 30 Minutes, mochiko (sweet rice flour) is a must. Regular rice flour won’t yield that signature chew, so it’s worth finding the real thing.
What can I add for flavor variations?
Feel free to experiment! Swirl in ube extract for a gorgeous purple color, add matcha powder for earthy flavor, or fold in chocolate chips. The basic recipe is flexible and invites creativity while following How to Make Traditional Japanese Mochi in 30 Minutes.
Why did my mochi turn out dense or gummy?
Overmixing the batter can lead to a dense result. Mix just until combined and avoid beating vigorously. Also, make sure you measured your ingredients accurately before starting How to Make Traditional Japanese Mochi in 30 Minutes.
Is it necessary to use coconut milk?
Coconut milk is key for the authentic Hawaiian flavor, but if you need to substitute, try another rich, creamy non-dairy milk. Just keep in mind, the flavor and texture will change compared to the classic How to Make Traditional Japanese Mochi in 30 Minutes.
Can this recipe be made vegan?
With a few swaps, yes! Use plant-based butter, an egg replacer, and a dairy-free evaporated milk substitute. The result will be a little different, but still delicious enough for anyone wanting to try How to Make Traditional Japanese Mochi in 30 Minutes, vegan-style.
Final Thoughts
If you’ve never tasted butter mochi fresh from the oven, you’re in for a cozy, chewy revelation. Whether you’re new to Japanese desserts or already a mochi superfan, making How to Make Traditional Japanese Mochi in 30 Minutes is a joyful baking adventure and a crowd-pleasing treat. Give it a try, and don’t forget to share your sweet success with family and friends!
PrintHow to Make Traditional Japanese Mochi in 30 Minutes Recipe
Learn how to make delicious Butter Mochi, a fusion of Japanese mochi and creamy textures in this easy recipe that celebrates Hawaii’s culinary heritage. Perfect for home bakers!
- Prep Time: 25 minutes
- Cook Time: 1 hour
- Total Time: 1 hour 25 minutes
- Yield: 24 servings 1x
- Category: Dessert
- Method: Baking
- Cuisine: Hawaiian
- Diet: Gluten Free
Ingredients
Dry Ingredients:
- 16 oz (1 box) mochiko flour
- 2 cups granulated sugar
- 2 tsp baking powder
Wet Ingredients:
- 4 large eggs
- 1/2 cup melted unsalted butter
- 1 can (12 oz) evaporated milk
- 1 can (14 oz) coconut milk
- 2 tsp vanilla extract
Instructions
- Preheat and Prepare: Preheat oven to 350°F (175°C) and grease a 9×13 inch baking pan.
- Mix Dry Ingredients: Combine mochiko flour, sugar, and baking powder in a large bowl.
- Whisk Wet Ingredients: In a separate bowl, whisk eggs, melted butter, evaporated milk, coconut milk, and vanilla extract.
- Combine and Bake: Mix wet and dry ingredients until smooth, pour into pan, and bake for 50-60 minutes until golden and set.
- Cool and Serve: Let it cool completely before cutting. For best texture, enjoy within a few days and store in an airtight container.
Notes
- Butter mochi is best enjoyed fresh within a few days.
- Experiment with flavors like ube, matcha, or chocolate for unique variations.
Nutrition
- Serving Size: 1 piece (approx. 80g)
- Calories: 220
- Sugar: 14g
- Sodium: 120mg
- Fat: 8g
- Saturated Fat: 6g
- Unsaturated Fat: 2g
- Trans Fat: 0g
- Carbohydrates: 34g
- Fiber: 0.5g
- Protein: 3g
- Cholesterol: 50mg
Keywords: Butter Mochi, Hawaiian Dessert, Mochi Recipe, Gluten-Free Dessert, Baking


