
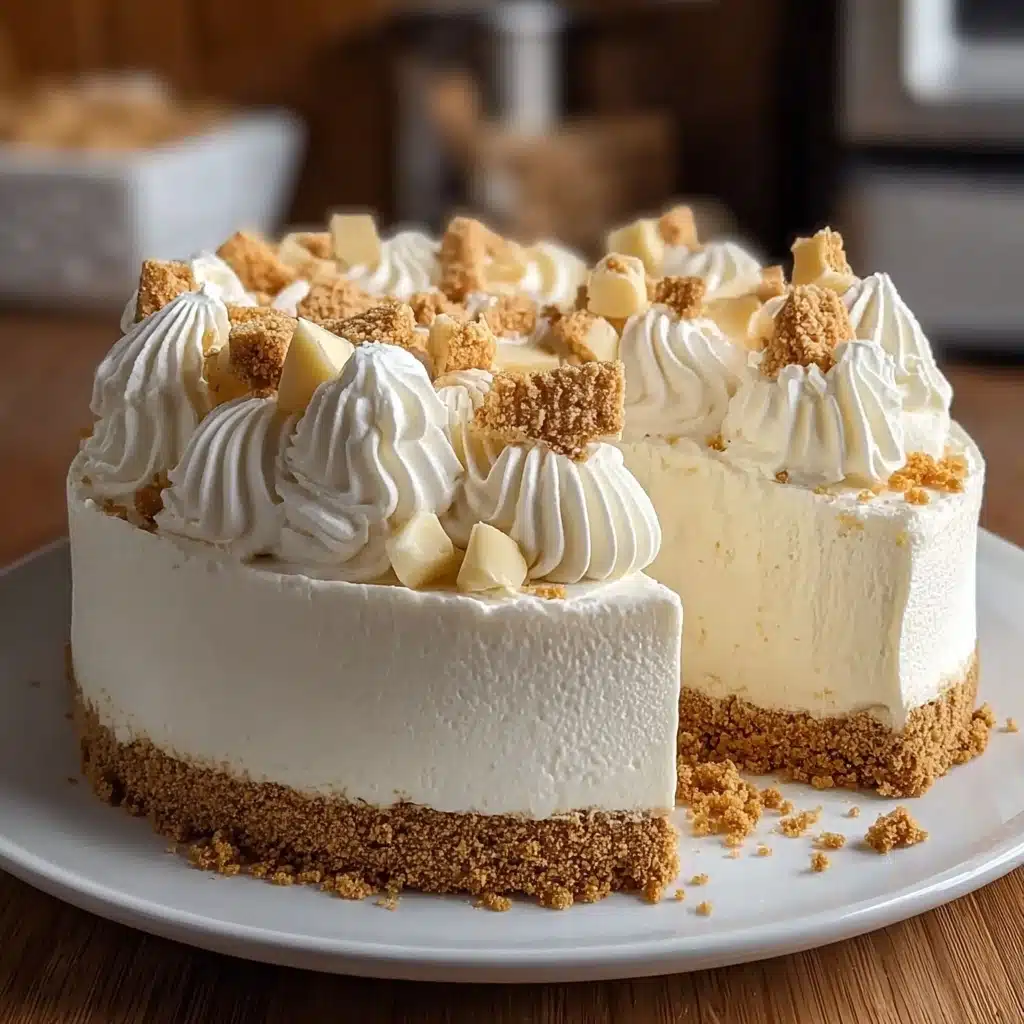
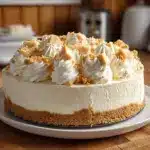
Marshmallow Whip Cheesecake : No-Bake Dream Dessert Recipe
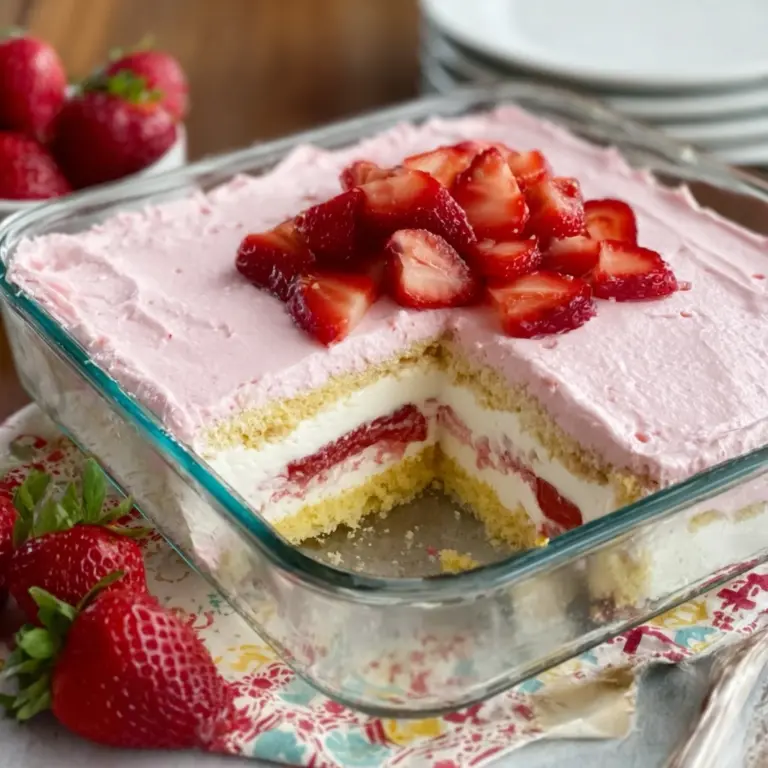
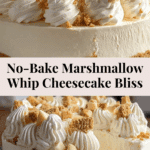
Imagine digging your fork into a cloud of creamy, dreamy cheesecake—no oven required! That’s exactly what you get with this Marshmallow Whip Cheesecake : No-Bake Dream Dessert. It combines the nostalgic sweetness of marshmallow fluff with tangy cream cheese, piled high atop a crunchy graham cracker crust. Perfect for summer picnics, festive gatherings, or whenever you crave a show-stopping dessert without breaking a sweat, this chilled treat is as easy to make as it is impressive to serve.

Ingredients You’ll Need
You’ll be amazed at how just a handful of classic ingredients can create a masterpiece like the Marshmallow Whip Cheesecake : No-Bake Dream Dessert. Each part—from the buttery crust to the fluffy filling—plays a starring role in taste, texture, and that crave-worthy bite. Here’s what you’ll need, plus tips to make each element shine.
- Graham cracker crumbs: The foundation of the crust, these add a familiar crunch and a touch of honeyed sweetness.
- Granulated sugar: Sweetens the crust and helps everything stick together without overpowering the cheesecake’s flavor.
- Unsalted butter, melted: Binds the graham crumbs and sugar while adding rich, buttery flavor to every bite.
- Cream cheese, softened: The heart of any cheesecake, it brings creamy tang and lush texture—be sure to let it reach room temperature for smooth blending.
- Marshmallow fluff: This dreamy ingredient adds sweetness and that irresistible, pillowy lift to the filling.
- Vanilla extract: Enhances the creamy filling with fragrant depth and warmth.
- Whipped topping (like Cool Whip), thawed: Makes the filling ultra-light and airy—you’ll love how it practically melts in your mouth.
- Optional toppings: Fresh berries for a burst of color, mini marshmallows for extra whimsy, chocolate shavings or drizzle for decadence, and crushed graham crackers for crunch.
How to Make Marshmallow Whip Cheesecake : No-Bake Dream Dessert
Step 1: Prepare the Graham Cracker Crust
To start your Marshmallow Whip Cheesecake : No-Bake Dream Dessert, grab a medium bowl and combine the graham cracker crumbs with granulated sugar. Pour in the melted butter and mix until you have the texture of wet sand. Press the crust mixture firmly into the bottom of a 9-inch springform pan for the best structure—use a flat-bottomed glass for a perfectly even layer. Pop the pan into the fridge so your crust can chill and set while you move on to the filling.
Step 2: Whip Up the Fluffy Cheesecake Filling
In a large mixing bowl, beat the softened cream cheese until it’s silky-smooth and free of lumps. Add in the marshmallow fluff and vanilla extract, continuing to mix until everything is creamy and fully combined. This is when the magic happens: gently fold in the thawed whipped topping. The result is a filling that’s sweet, airy, and impossibly light—the very essence of a Marshmallow Whip Cheesecake : No-Bake Dream Dessert.
Step 3: Assemble and Chill the Cheesecake
Remove your prepared crust from the fridge and gently spread the marshmallow cheesecake filling over top. Use a spatula to smooth out the surface; take your time to create those irresistible swirls or keep it glassy-smooth. Cover the pan with plastic wrap and place it in the refrigerator for at least 4 hours—overnight is even better! This gives your cheesecake time to set perfectly and the flavors to meld.
Step 4: Decorate and Serve
When it’s time to serve, carefully unclip the springform pan and lift away the ring. Now, have fun with the toppings: crown your cheesecake with a tumble of fresh berries, scatter on a handful of mini marshmallows, drizzle with chocolate, or dust with extra graham cracker crumbs. Every slice will look as stunning as it tastes!
How to Serve Marshmallow Whip Cheesecake : No-Bake Dream Dessert
Garnishes
Don’t hold back when it comes to garnishing your Marshmallow Whip Cheesecake : No-Bake Dream Dessert. Pile on sliced strawberries or a mix of vibrant berries for freshness and color, or get playful with mini marshmallows scattered over the top. A drizzle of chocolate sauce or a sprinkling of chocolate shavings takes things to new gourmet heights, while extra graham crumbs add the perfect crunch. Let your eyes—and your cravings—be your guide!
Side Dishes
Pair this dreamy cheesecake with fresh fruit for a light touch, or serve alongside berry coulis or tangy lemon curd for a bright contrast. A strong cup of coffee or a frosty glass of milk makes each bite even more satisfying. For parties and picnics, offer a platter of shortbread or wafer cookies for scooping up those extra cheesecake clouds.
Creative Ways to Present
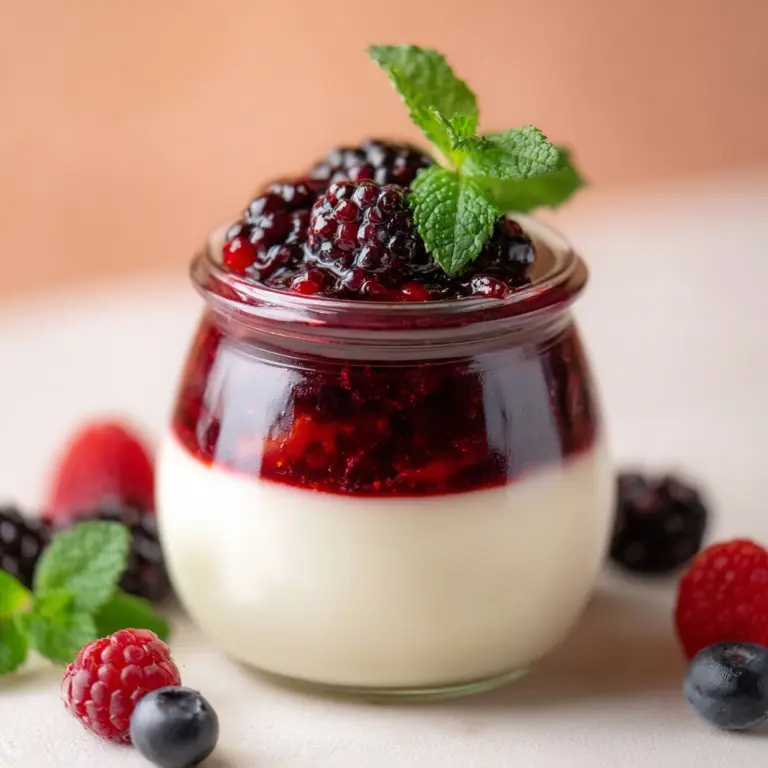
For an adorable twist, try making mini Marshmallow Whip Cheesecakes : No-Bake Dream Dessert in mason jars or cupcake liners—perfect for individual servings at showers or picnics. Or, layer cubes of cheesecake in clear glasses with berries and graham crumbs for an elegant parfait. You can even swirl in a ribbon of raspberry jam before chilling to create a gorgeous marbled effect.
Make Ahead and Storage
Storing Leftovers
Keep your Marshmallow Whip Cheesecake : No-Bake Dream Dessert covered in the fridge, either in the springform pan or in airtight containers. It will stay delicious for up to 4 days, making it easy to sneak a slice (or two!) whenever the craving hits.
Freezing
Want to save some for later? You can freeze the cheesecake, either whole or in slices, tightly wrapped in plastic wrap and foil, for up to one month. Thaw in the refrigerator overnight before serving. The texture stays beautifully creamy—just like the day you made it.
Reheating
This Marshmallow Whip Cheesecake : No-Bake Dream Dessert is meant to be enjoyed chilled; there’s no need to reheat. Simply let frozen slices thaw in the fridge. If you want it extra soft, let your slice rest at room temperature for about 15 minutes before serving.
FAQs
Can I use homemade whipped cream instead of store-bought whipped topping?
Absolutely! Homemade whipped cream works beautifully in Marshmallow Whip Cheesecake : No-Bake Dream Dessert. Just make sure it’s whipped to soft peaks and measure out the same amount as the recipe specifies.
Is there a way to make this cheesecake gluten-free?
Yes, you can substitute gluten-free graham crackers or cookies for the crust. The rest of the ingredients in Marshmallow Whip Cheesecake : No-Bake Dream Dessert are typically gluten-free, but it never hurts to double-check your labels.
How long does the cheesecake need to chill before serving?
For the best results, chill the Marshmallow Whip Cheesecake : No-Bake Dream Dessert for a minimum of 4 hours. If you can, let it set overnight—the texture and flavor only get better with time.
Can I add mix-ins to the cheesecake filling?
Of course! Try folding in mini chocolate chips, lemon zest, or even swirls of fruit preserves. Just be gentle—you want to keep the filling as light and fluffy as possible.
What do I do if I don’t have a springform pan?
No worries! You can use a deep-dish pie plate or a square baking dish. Just line it with parchment paper for easy removal, or simply slice and serve right out of the dish.
Final Thoughts
If you’re looking for the ultimate no-fuss, all-flavor dessert, this Marshmallow Whip Cheesecake : No-Bake Dream Dessert truly delivers. With its cloud-like filling and buttery, nostalgic crust, it’s impossible to resist. I hope you’ll give it a try and discover just how delightful a no-bake cheesecake can be—your friends and family are in for a treat!
PrintMarshmallow Whip Cheesecake : No-Bake Dream Dessert Recipe
Indulge in the creamy, fluffy goodness of this no-bake dream dessert, Marshmallow Whip Cheesecake. With a graham cracker crust, a decadent marshmallow-flavored filling, and optional toppings, this cheesecake is a delightful treat for any occasion.
- Prep Time: 20 minutes
- Cook Time: 0 minutes
- Total Time: 4 hours 20 minutes
- Yield: 1 9-inch cheesecake 1x
- Category: Dessert
- Method: No-Bake
- Cuisine: American
- Diet: Vegetarian
Ingredients
Graham Cracker Crust:
- 1½ cups graham cracker crumbs
- ⅓ cup granulated sugar
- ½ cup (1 stick) unsalted butter, melted
Cheesecake Filling:
- 16 oz cream cheese, softened
- 7 oz marshmallow fluff (1 jar)
- 1 tsp vanilla extract
- 1 container (8 oz) whipped topping (like Cool Whip), thawed
Optional Toppings:
- Fresh berries
- Mini marshmallows
- Chocolate shavings or drizzle
- Crushed graham crackers
Instructions
- Make the Crust: In a medium bowl, mix graham cracker crumbs and sugar. Stir in the melted butter until well combined. Press mixture firmly into the bottom of a 9-inch springform pan. Chill in the fridge while preparing the filling.
- Prepare the Filling: In a large mixing bowl, beat the cream cheese until smooth and fluffy. Add marshmallow fluff and vanilla extract, mixing until well combined and creamy. Gently fold in the whipped topping until the mixture is light and airy.
- Assemble the Cheesecake: Spread the cheesecake mixture over the chilled crust. Use a spatula to smooth the top evenly. Cover with plastic wrap and refrigerate for at least 4 hours, preferably overnight.
- Decorate and Serve: Before serving, add your choice of toppings — fresh strawberries, mini marshmallows, or a drizzle of chocolate sauce. Carefully remove the springform ring, slice, and serve chilled.
Notes
- Crust swaps: Try chocolate wafer cookies or crushed Oreos for a different base
- Flavor twists: Add lemon zest to the filling for a citrusy note, or swirl in raspberry jam before chilling
- Make it mini: Use a muffin tin and cupcake liners to create individual cheesecakes
Nutrition
- Serving Size: 1 slice
- Calories: 380 kcal
- Sugar: 20g
- Sodium: 280mg
- Fat: 25g
- Saturated Fat: 15g
- Unsaturated Fat: 7g
- Trans Fat: 0g
- Carbohydrates: 35g
- Fiber: 1g
- Protein: 5g
- Cholesterol: 70mg
Keywords: Cheesecake, No-Bake, Dessert, Marshmallow, Easy