
Peanut Butter Cup Chocolate Roll Cake Recipe
Introduction
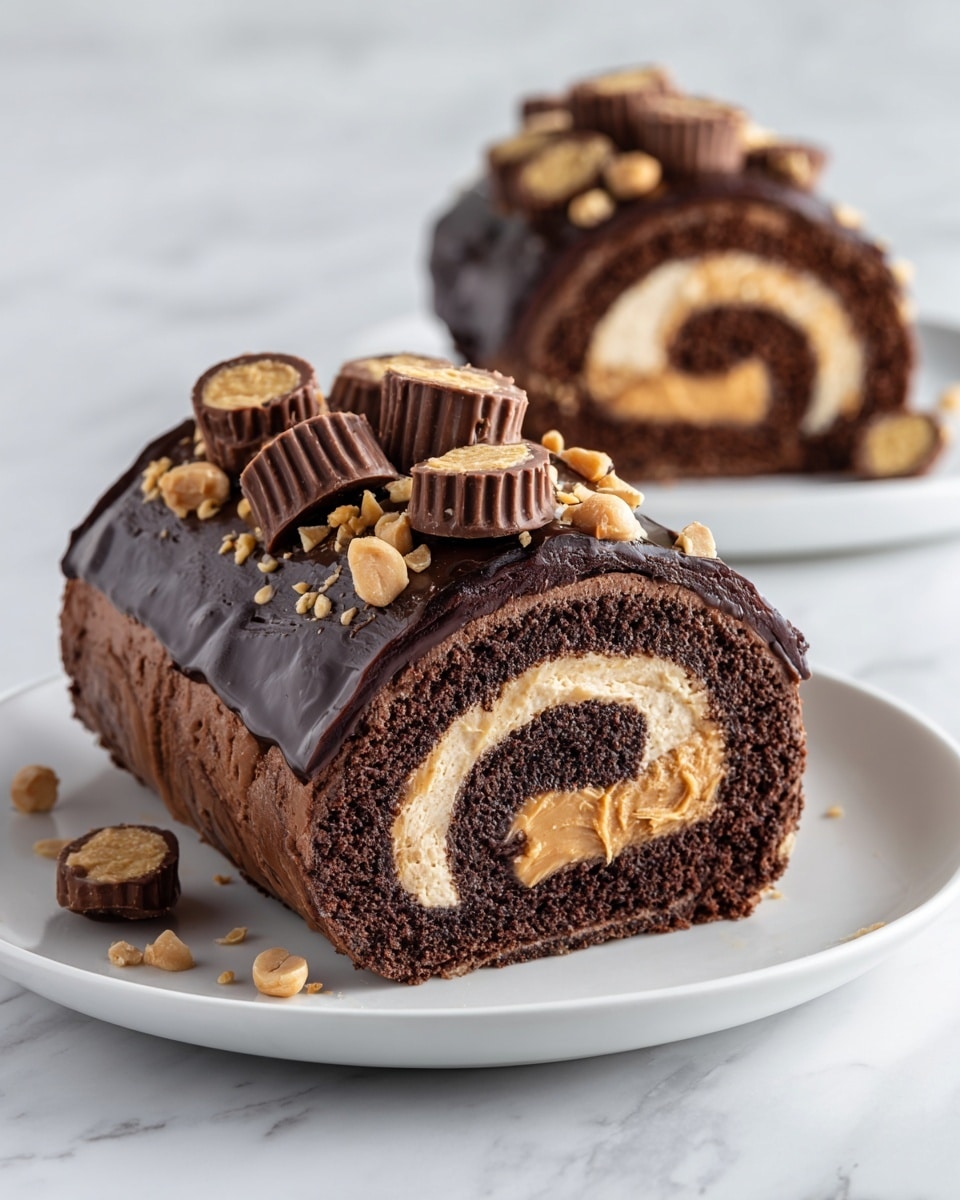
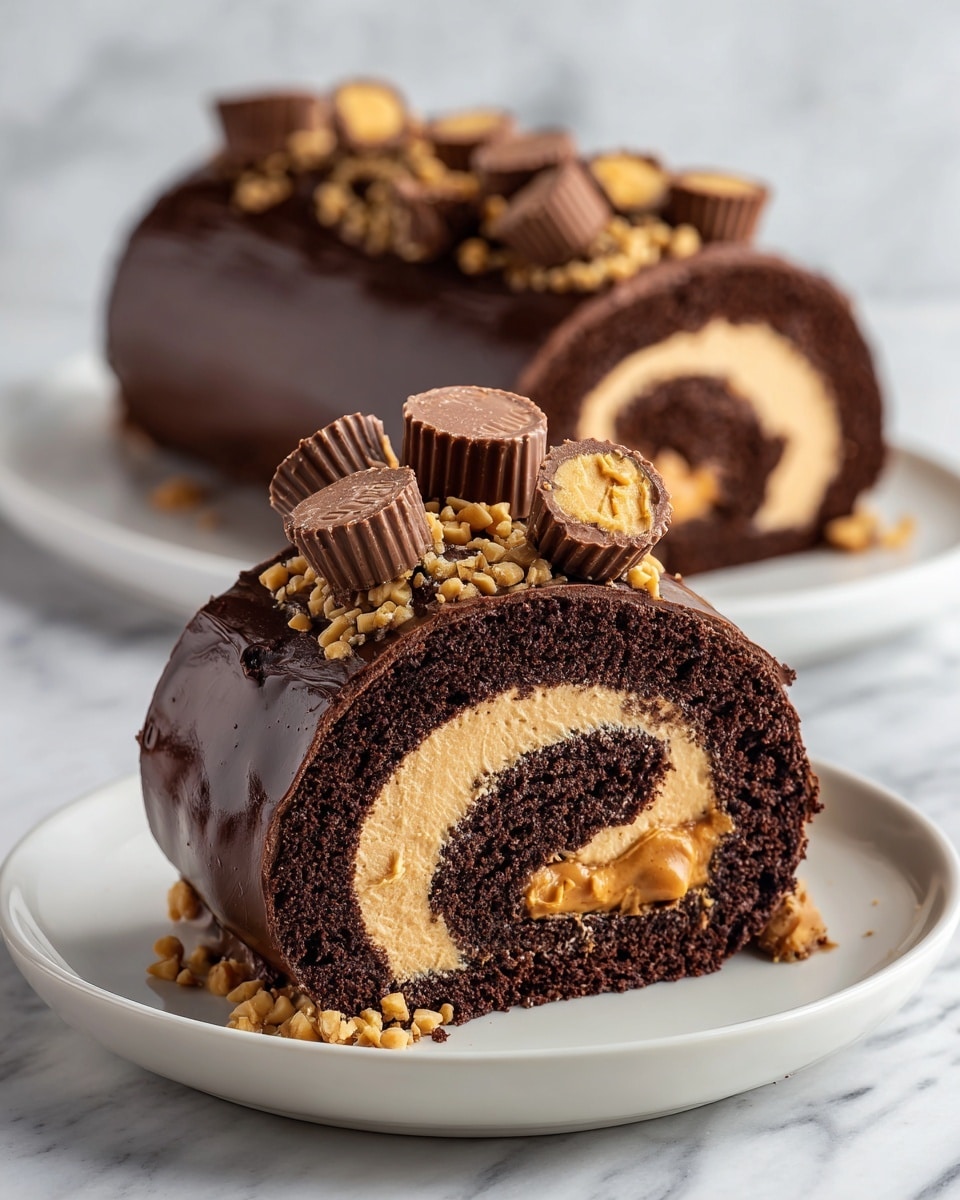
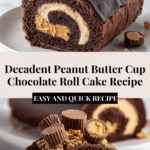
This Peanut Butter Cup Chocolate Roll Cake is a delightful treat combining rich chocolate and creamy peanut butter in a light, fluffy roll. Perfect for parties or a special dessert, its smooth filling and ganache topping will impress any chocolate lover.
Ingredients
- 1 cup all-purpose flour
- 1/2 cup cocoa powder
- 1 teaspoon baking powder
- 1/2 teaspoon salt
- 4 large eggs
- 1 cup sugar
- 1/3 cup milk
- 1/3 cup vegetable oil
- 1 teaspoon vanilla extract
- 1 cup creamy peanut butter
- 1 cup powdered sugar
- 1/2 cup heavy cream
- 1 cup chocolate ganache
- Mini peanut butter cups, to taste (for topping)
Instructions
- Step 1: Preheat your oven to 350°F (175°C) and line a jelly roll pan with parchment paper.
- Step 2: In a bowl, whisk together the flour, cocoa powder, baking powder, and salt.
- Step 3: In another bowl, beat the eggs and sugar until light and fluffy. Add the milk, vegetable oil, and vanilla extract, mixing well.
- Step 4: Gently combine the wet ingredients with the dry ingredients, then pour the batter into the prepared pan, spreading evenly.
- Step 5: Bake for 12–15 minutes, or until the cake springs back when lightly touched.
- Step 6: While the cake bakes, mix the peanut butter and powdered sugar in a bowl until smooth and creamy.
- Step 7: When the cake is done, turn it out onto a clean kitchen towel and roll it up gently while still warm. Allow it to cool completely in the rolled position.
- Step 8: Carefully unroll the cooled cake, spread the peanut butter filling evenly over the surface, then re-roll the cake tightly.
- Step 9: Pour the chocolate ganache over the rolled cake, letting it drip evenly down the sides.
- Step 10: Decorate the top with mini peanut butter cups as desired.
- Step 11: Chill the cake in the refrigerator before slicing and serving to let the ganache set.
Tips & Variations
- For a smoother roll, roll the cake while it’s still warm to prevent cracking.
- Substitute crunchy peanut butter if you prefer added texture in the filling.
- Add a sprinkle of sea salt on top of the ganache to enhance the chocolate and peanut flavor.
- Use homemade chocolate ganache by heating heavy cream and pouring it over chopped chocolate, stirring until smooth.
Storage
Store the cake covered in the refrigerator for up to 3 days. To serve, let it sit at room temperature for 10–15 minutes for the ganache to soften slightly before slicing. This cake is best enjoyed fresh but can also be frozen wrapped tightly for up to 1 month; thaw overnight in the fridge before serving.
How to Serve
Serve this delicious recipe with your favorite sides.
FAQs
Can I use a different type of nut butter?
Yes, almond or cashew butter can be used instead of peanut butter, but note that the flavor and texture will differ slightly.
How do I make the chocolate ganache?
Heat 1/2 cup of heavy cream just until simmering, then pour it over 1 cup of chopped chocolate. Let it sit for a minute, then stir until smooth and glossy.
PrintPeanut Butter Cup Chocolate Roll Cake Recipe

This Peanut Butter Cup Chocolate Roll Cake is a delightful dessert combining rich cocoa sponge cake rolled with a creamy peanut butter filling and topped with luscious chocolate ganache and mini peanut butter cups. Perfect for chocolate and peanut butter lovers, this treat offers a moist, light texture with a deliciously creamy center and an indulgent finish.
- Prep Time: 15 minutes
- Cook Time: 15 minutes
- Total Time: 45 minutes
- Yield: 8 servings 1x
- Category: Dessert
- Method: Baking
- Cuisine: American
Ingredients
For the Cake:
- 1 cup all-purpose flour
- 1/2 cup cocoa powder
- 1 teaspoon baking powder
- 1/2 teaspoon salt
- 4 large eggs
- 1 cup sugar
- 1/3 cup milk
- 1/3 cup vegetable oil
- 1 teaspoon vanilla extract
For the Filling:
- 1 cup creamy peanut butter
- 1 cup powdered sugar
- 1/2 cup heavy cream
For the Topping:
- 1 cup chocolate ganache
- Mini peanut butter cups (to taste)
Instructions
- Preparation: Preheat your oven to 350°F (175°C) and line a jelly roll pan with parchment paper to prevent sticking and make it easier to roll the cake later.
- Mix Dry Ingredients: In a large bowl, sift together the all-purpose flour, cocoa powder, baking powder, and salt. This ensures the leavening is evenly distributed and the cocoa is smooth.
- Mix Wet Ingredients: In a separate bowl, beat the eggs and sugar until the mixture is light and fluffy, which helps create a soft texture. Then add the milk, vegetable oil, and vanilla extract, mixing well to combine all the liquids.
- Combine and Bake: Gradually add the dry ingredients to the wet ingredients, mixing just until incorporated. Pour the batter evenly into the prepared jelly roll pan and spread it out smoothly. Bake in the preheated oven for 12 to 15 minutes, or until the cake springs back lightly to the touch.
- Prepare Filling: While the cake bakes, in a bowl, combine the creamy peanut butter and powdered sugar and beat until smooth and creamy. Whip the heavy cream until stiff peaks form and fold it gently into the peanut butter mixture to lighten the filling.
- Roll Cake: Once the cake is baked, immediately invert it onto a clean kitchen towel dusted with powdered sugar. Carefully peel off the parchment paper. Roll the cake up in the towel while still warm to form a spiral; this prevents cracking. Let it cool completely while rolled.
- Fill Cake: When cooled, gently unroll the cake and spread the peanut butter filling evenly over the surface. Re-roll the cake tightly without the towel to avoid cracking.
- Top Cake: Pour the chocolate ganache evenly over the rolled cake, smoothing with a spatula. Decorate with mini peanut butter cups on top as desired to enhance the presentation and peanut butter flavor.
- Chill: Refrigerate the cake for at least 1 hour to set the ganache and allow the flavors to meld together before slicing and serving.
Notes
- Rolling the cake while warm helps prevent cracks; be gentle when unrolling and filling.
- If you do not have heavy cream, whipped cream can be used but may be less stable.
- Use good quality cocoa powder and chocolate ganache for a richer flavor.
- The cake can be prepared a day ahead and refrigerated for convenience.
Keywords: Peanut Butter Cake, Chocolate Roll Cake, Peanut Butter Cup Dessert, Roll Cake Recipe, Chocolate Peanut Butter Roll


