
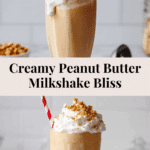
Peanut Butter Milkshake Recipe
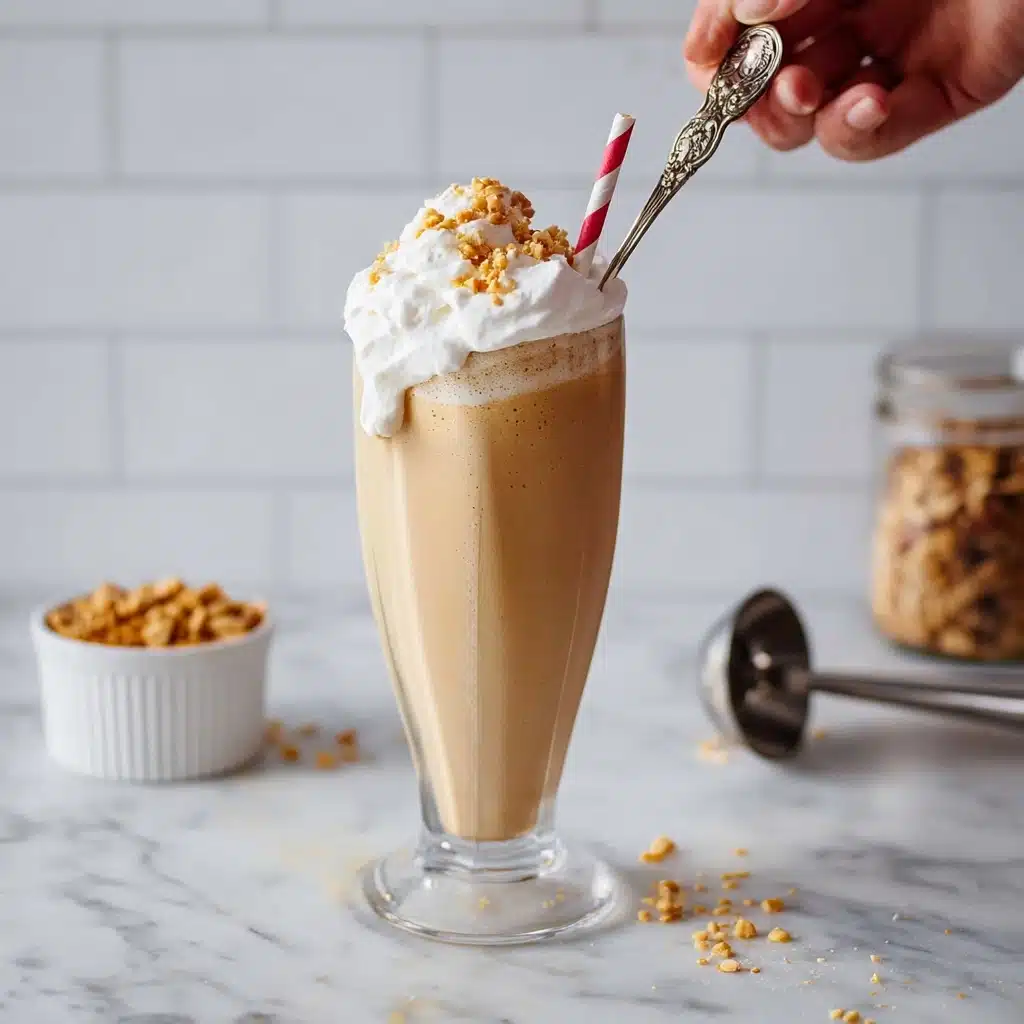
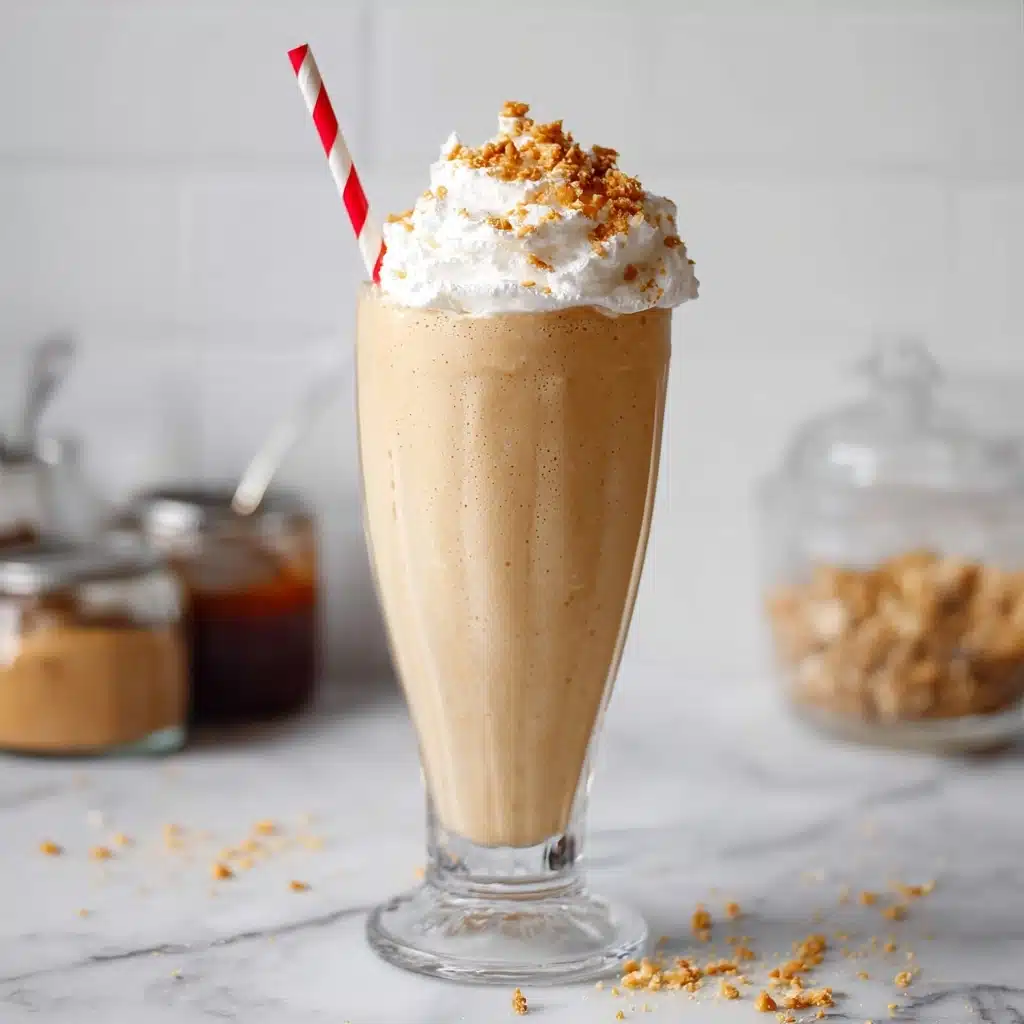
This Peanut Butter Milkshake is pure, creamy indulgence in a glass. Imagine the perfect union of velvety vanilla ice cream, rich peanut butter, and a splash of milk, all blended to frosty perfection. Whether you’re craving a fun dessert, a nostalgic treat, or simply looking to satisfy a peanut butter craving, this recipe is a guaranteed crowd-pleaser. Each sip is a sweet, nutty celebration that’s impossible to resist—especially when crowned with clouds of whipped cream and a sprinkle of chopped peanuts!
Ingredients You’ll Need
You only need a handful of staple ingredients to whip up this peanut butter milkshake, but each one is essential for flavor, creaminess, and that signature thick, frosty texture we all love. Any substitutions or additions let you customize to your taste, making this the most versatile treat in your dessert repertoire.
- Milk: The base that brings everything together—it lightens the shake just enough. You can use cow’s milk, or swap in almond or coconut milk for a fun twist.
- Vanilla ice cream: Pure, creamy foundation and the main source of that rich texture—frozen yogurt or coconut ice cream work beautifully, too, or try a frozen banana for a lighter vibe.
- Peanut butter: The star ingredient! Creamy gives a smoother texture, chunky adds delightful nutty bits. Always use your favorite brand for the best flavor.
- Whipped cream (optional): For that classic topping, it makes this milkshake feel like a celebration and adds a luxurious touch.
- Chopped peanuts (optional): Add crunch, color, and a hint of extra peanut flavor—use raw or toasted depending on what you love best.
How to Make Peanut Butter Milkshake
Step 1: Gather Your Ingredients
Set out all your ingredients: milk, vanilla ice cream, peanut butter, and any optional toppings you want. Having everything ready means your Peanut Butter Milkshake will come together in a flash, so nothing melts while you’re hunting through the fridge.
Step 2: Add Everything to the Blender
Spoon the peanut butter, pile in the vanilla ice cream, and pour in the milk. If you’re adding a frozen banana or using a milk alternative, toss those in now. The secret here is not skimping on the peanut butter—it’s what makes every sip so sensational!
Step 3: Blend Until Creamy
Secure the blender lid and whizz everything together on high speed. In less than a minute, you’ll have a perfectly smooth, creamy Peanut Butter Milkshake with a dreamy, thick consistency. If you prefer your milkshake a little thinner, just add an extra splash or two of milk and blend again until you hit your ideal texture.
Step 4: Pour into a Chilled Glass
For the ultimate milkshake-bar experience, use a chilled glass straight from the freezer. Pour your rich, frosty shake in—it should slide in slowly and look irresistibly thick. This small step takes your presentation to the next level!
Step 5: Add Toppings
Generously top your Peanut Butter Milkshake with billowy whipped cream, then finish with a scatter of chopped peanuts. This not only adds a playful crunch but looks stunning, too. Grab a straw and enjoy immediately while it’s extra cold!
How to Serve Peanut Butter Milkshake
Garnishes
A Peanut Butter Milkshake is never fully dressed without its toppings! Beyond classic whipped cream and chopped peanuts, try a drizzle of chocolate or caramel sauce, mini chocolate chips, or even a dusting of crushed cookies. These extra touches make every glass feel special and add surprising layers of flavor and fun.
Side Dishes
Pair your Peanut Butter Milkshake with something light and salty, like pretzel sticks or popcorn, for a playful sweet-and-salty combo. If you’re serving as dessert, oatmeal cookies or banana bread on the side make a winning match, echoing the milkshake’s creamy sweetness without overpowering it.
Creative Ways to Present
You can serve individual Peanut Butter Milkshakes in mini glasses for a party-friendly dessert shot, or use vintage soda fountain glasses with colorful straws for a retro vibe. For an over-the-top treat, rim your glass with melted chocolate and crushed peanuts—it’s a guaranteed showstopper that’ll wow your guests!
Make Ahead and Storage
Storing Leftovers
Milkshakes are always best fresh, but if you find yourself with extra Peanut Butter Milkshake, transfer it to an airtight container and refrigerate for up to 24 hours. Give it a quick stir or shake before serving again, as it may separate slightly in the fridge.
Freezing
If you want to keep your milkshake longer, pour it into an ice cube tray and freeze. When a craving hits, pop some cubes into the blender with a splash of milk and re-blend to restore that thick, frosty magic without any waste.
Reheating
Milkshakes and heat don’t truly mix, but if your Peanut Butter Milkshake is a bit too frozen or hard from the freezer, let it sit at room temperature for 10-15 minutes or pop it in the microwave for 10 seconds—just enough to soften it for blending again.
FAQs
Can I use crunchy peanut butter instead of creamy?
Absolutely! Crunchy peanut butter adds fun texture and nutty surprises in every sip. If you like a super smooth milkshake, stick with creamy, but for more bite, crunchy is fantastic.
Is there a dairy-free option for this Peanut Butter Milkshake?
Yes! Substitute coconut or almond milk for regular milk, and look for vegan vanilla or coconut ice cream. You’ll get all the luscious flavor and creaminess without any dairy at all.
How can I make this Peanut Butter Milkshake a little healthier?
Swap out the ice cream for frozen yogurt or a frozen sliced banana. You can also use natural peanut butter with no added sugar. These small tweaks lighten things up while keeping every sip delicious.
What if my milkshake comes out too thick?
No problem—just blend in another splash or two of milk, a little at a time, until you reach your perfect consistency. It’s super easy to customize how thick or thin you like your milkshake.
Can I add other flavors to this Peanut Butter Milkshake?
Definitely! Chocolate syrup, a shot of espresso, or a pinch of cinnamon make fabulous additions. You can really get creative with mix-ins to suit your mood or your favorite dessert cravings.
Final Thoughts
If a sweet, creamy treat sounds like your idea of heaven, this Peanut Butter Milkshake absolutely delivers. It’s quick, endlessly customizable, and joyfully nostalgic. I can’t wait for you to give it a whirl—once you do, it’s bound to be a favorite in your kitchen, too!
PrintPeanut Butter Milkshake Recipe
Indulge in the creamy, nutty goodness of this Peanut Butter Milkshake. Perfect for a sweet treat or a quick dessert fix!
- Prep Time: 5 minutes
- Cook Time: 0 minutes
- Total Time: 5 minutes
- Yield: 2 servings 1x
- Category: Beverage
- Method: Blending
- Cuisine: American
- Diet: Vegetarian
Ingredients
Milk
- ¼ cup milk (You can substitute almond or coconut milk.)
Ice Cream
- 2 cups vanilla ice cream (Or coconut ice cream if you can find it. You can substitute frozen yogurt or a small frozen sliced banana.)
Peanut Butter
- ⅓ cup peanut butter (Creamy or chunky)
Toppings
- Whipped cream (Optional)
- Chopped peanuts (Raw or toasted. Optional)
Instructions
- Add ingredients to a blender – Add all ingredients to a large blender.
- Blend until smooth and creamy – Blend until the mixture is smooth and creamy.
- Pour into chilled glass – Pour the milkshake into a chilled glass.
- Top with whipped cream and chopped peanuts – Add whipped cream and chopped peanuts as toppings, if desired.
Nutrition
- Serving Size: 1 serving
- Calories: 480 kcal
- Sugar: 35g
- Sodium: 340mg
- Fat: 32g
- Saturated Fat: 12g
- Unsaturated Fat: 15g
- Trans Fat: 0g
- Carbohydrates: 35g
- Fiber: 3g
- Protein: 15g
- Cholesterol: 40mg
Keywords: Peanut Butter Milkshake, Milkshake Recipe, Peanut Butter Recipe, Dessert, Sweet Treat