
Quick & Easy Gluten-Free Vegan Pie Crust Recipe
Introduction
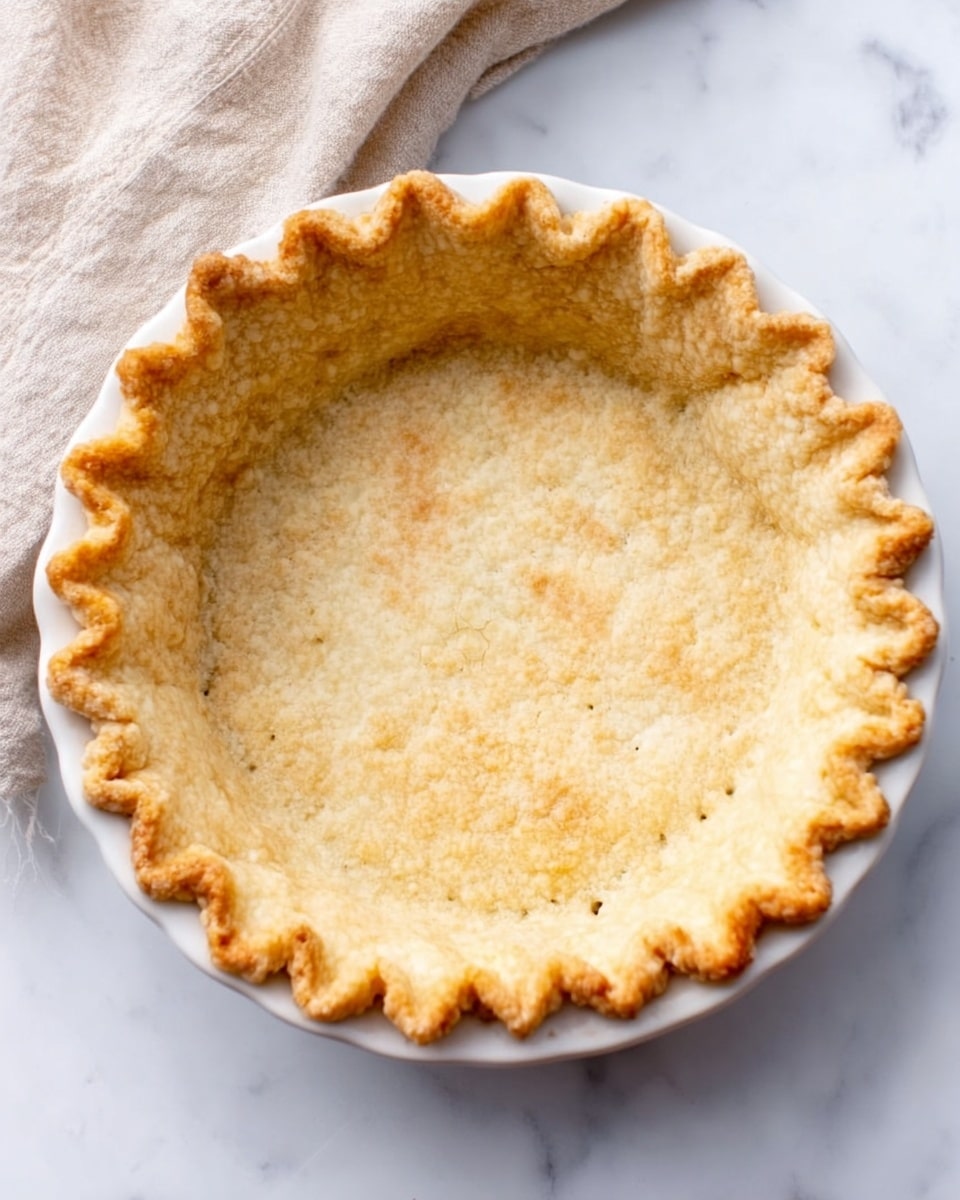
This quick and easy gluten-free pie crust is perfect for anyone looking for a dairy-free and vegan option. It’s buttery, tender, and simple to make, providing a reliable base for your favorite pies without any compromise on flavor or texture.
Ingredients
- 2 cups (250 g) gluten-free measure-for-measure flour*
- ¼ tsp sea salt
- 3/4 cup + 1 tbsp (180 g) vegan butter, cubed and frozen
- ¼ cup (67 g) dairy-free yogurt or vegan sour cream
- 2 tbsp maple syrup*
- 3-4 tbsp cold water
- 1 tbsp maple syrup (for brushing)
- 1 tbsp soy milk or dairy-free milk (for brushing)
Instructions
- Step 1: Add the gluten-free flour and sea salt to a food processor along with the frozen cubed vegan butter. Pulse until the mixture resembles a sandy texture with a few small chunks of butter remaining.
- Step 2: Add the dairy-free yogurt to the mixture and pulse just until combined, about 5-7 seconds.
- Step 3: Pour in the maple syrup, then gradually add cold water one tablespoon at a time while pulsing. Continue until a thick, slightly tacky dough forms.
- Step 4: Transfer the dough onto plastic wrap or parchment paper and shape it into a disk. Wrap tightly and refrigerate for 45 minutes to 1 hour.
- Step 5: On a floured surface, roll the dough into a 10-inch rectangle. Fold it in half, rotate right, and repeat rolling and folding three more times for four total laminations.
- Step 6: Roll the laminated dough out to be 2 inches larger than your pie dish (8-10 inches diameter is ideal).
- Step 7: Carefully transfer the dough to your pie pan without stretching. Gently press the dough into the pan and trim any excess. Shape the edges as desired.
- Step 8: Chill the pie crust in the freezer for 10-15 minutes while preheating your oven to 425°F (220°C).
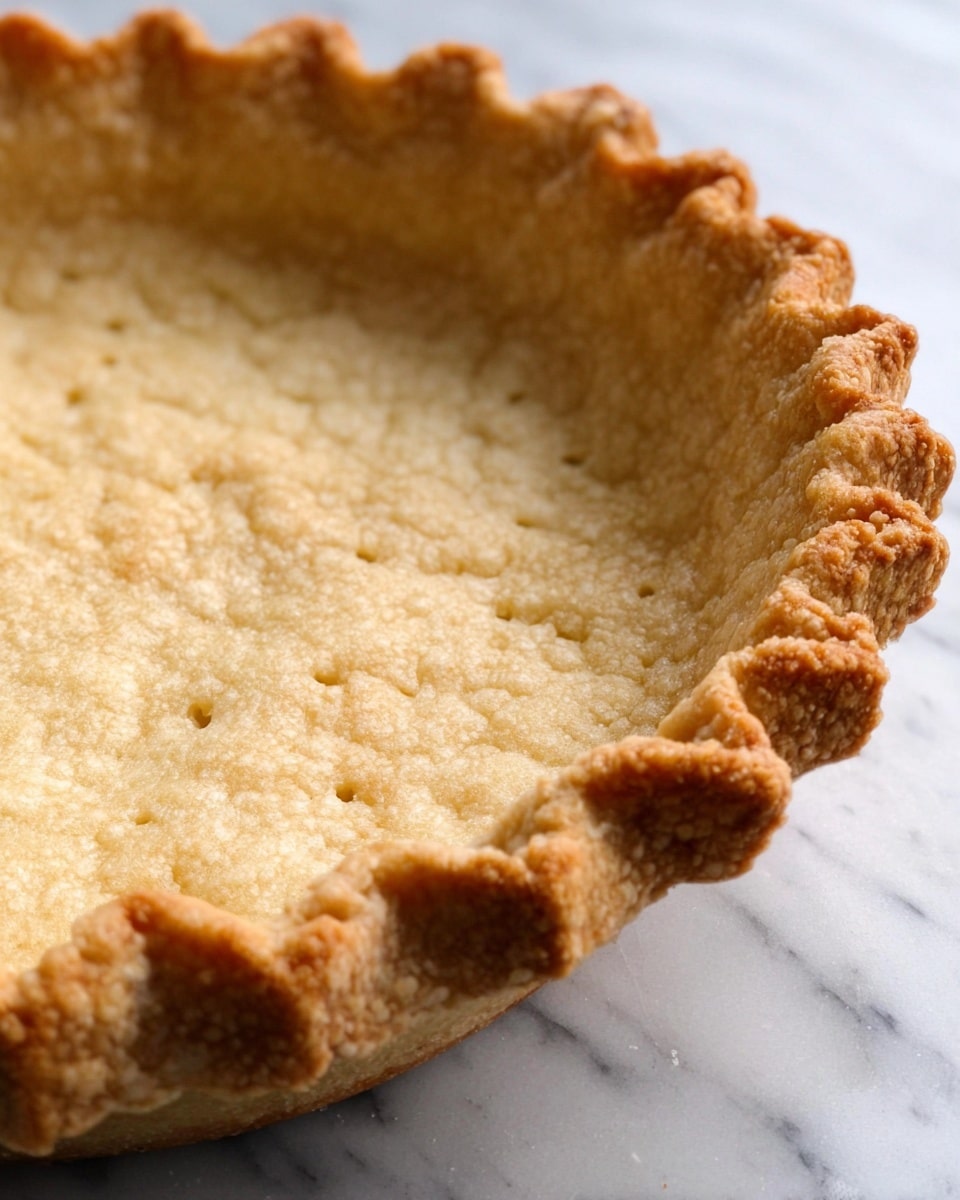
- Step 9: Poke holes in the crust bottom, cover with parchment paper and pie weights, then brush with a mixture of maple syrup and soy milk.
- Step 10: Bake the crust. For fully baked crust, bake 20-22 minutes, removing pie weights after 15 minutes to crisp the bottom. For par-baking, bake 10-12 minutes with weights, then 2-3 minutes without.
Tips & Variations
- Use a gluten-free measure-for-measure flour blend for best results; avoid blends with xanthan gum if you want a flakier texture.
- For a richer flavor, try adding a teaspoon of vanilla extract or a pinch of cinnamon to the dough.
- Replace soy milk with any dairy-free milk you prefer for the egg wash.
- You can prepare the dough up to 2 days ahead and keep it tightly wrapped in the refrigerator.
- If you don’t have pie weights, use dried beans or rice to prevent bubbling while baking.
Storage
Store any unused dough wrapped tightly in the refrigerator for up to 2 days. Baked crusts keep well in an airtight container at room temperature for 1-2 days or frozen for up to 1 month. Reheat baked crusts in a 350°F (175°C) oven for 5-10 minutes to restore crispness.
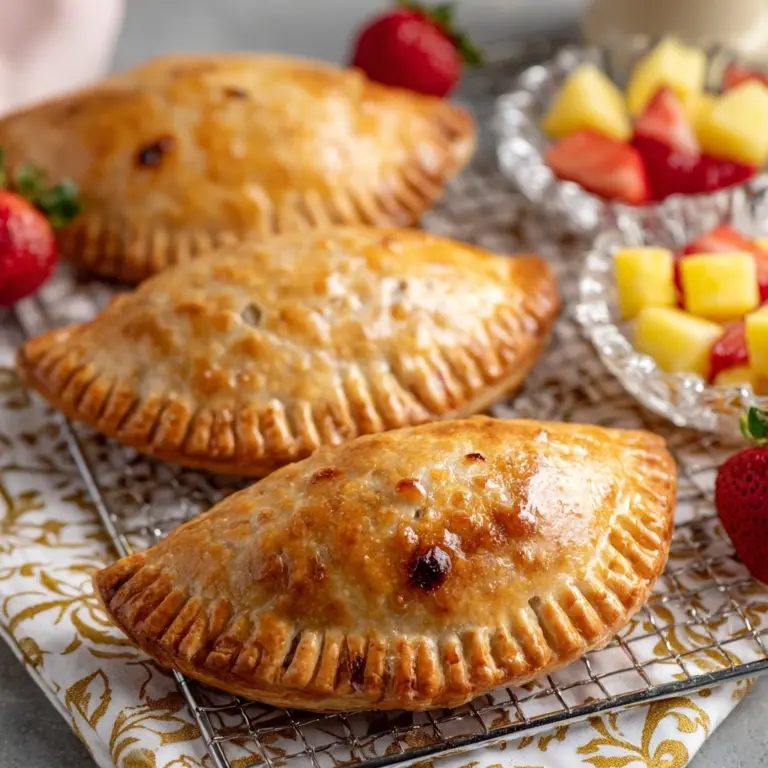
How to Serve
Serve this delicious recipe with your favorite sides.
FAQs
Can I make this crust without a food processor?
Yes, you can make this crust by hand. Cut the frozen vegan butter into the flour and salt using a pastry cutter or two knives until the mixture resembles coarse sand with a few small chunks. Then mix in the yogurt and water as directed.
What can I use instead of vegan butter?
If you don’t have vegan butter, solid coconut oil can be a substitute. Keep it frozen and use the same quantity for a flaky texture, though the flavor will be slightly different.
PrintQuick & Easy Gluten-Free Vegan Pie Crust Recipe
This quick and easy gluten-free pie crust recipe is dairy-free and vegan, perfect for those with dietary restrictions or anyone seeking a flaky, tender crust without gluten or animal products. Utilizing frozen vegan butter, dairy-free yogurt, and maple syrup, this crust is simple to make with a food processor, creating a supple dough that laminates beautifully for extra flakiness. It can be par-baked or fully baked, ideal for sweet or savory pies.
- Prep Time: 15 minutes
- Cook Time: 22 minutes
- Total Time: 37 minutes (including chilling time)
- Yield: 1 pie crust for an 8-10 inch pie 1x
- Category: Baking
- Method: Baking
- Cuisine: American
- Diet: Gluten Free
Ingredients
Dry Ingredients
- 2 cups (250 g) gluten-free measure-for-measure flour
- ¼ tsp sea salt
Wet Ingredients
- ¾ cup + 1 tbsp (180 g) vegan butter, cubed and frozen
- ¼ cup (67 g) dairy-free yogurt or vegan sour cream
- 2 tbsp maple syrup (plus 1 tbsp additional for dough)
- 3–4 tbsp cold water
- 1 tbsp soy milk or other dairy-free milk (for brushing)
Instructions
- Combine the butter and flour: Add the gluten-free flour, sea salt, and cubed frozen vegan butter to a food processor. Pulse until the mixture resembles coarse sand, leaving a few small larger butter chunks if mixing by hand.
- Add in the yogurt: Add the dairy-free yogurt or vegan sour cream and pulse just until incorporated, about 5-7 seconds to avoid overmixing.
- Finish the gluten-free pie dough: Add 2 tablespoons of maple syrup and start pulsing while gradually adding 1 tablespoon of cold water at a time until the dough forms a thick, tacky, but cohesive ball.
- Chill the dough: Shape the dough into a disk, wrap tightly in plastic wrap or parchment, and refrigerate for 45 minutes to 1 hour to firm up.
- Laminate the dough: Generously flour a clean surface and roll the dough into a 10-inch rectangle. Fold in half lengthwise, rotate 90° to the right, then roll again. Repeat this fold-and-roll process four times total to create flaky layers.
- Roll out the dough: Roll out the laminated dough to be about 2 inches larger than your pie dish (ideally 8-10 inches diameter) for proper coverage and edges.
- Trim and fit: Transfer the dough carefully into the pie pan without stretching. Press the edges gently to fit and trim any excess dough hanging over the edges.
- Chill before baking: Chill the prepared crust in the freezer for 10-15 minutes while preheating the oven to 425°F (220°C).
- Prepare for baking: Prick the bottom of the crust with a fork to prevent bubbling. Place parchment paper over the crust bottom and fill with pie weights to maintain shape during baking.
- Bake the crust: Brush the crust with the vegan egg wash made from soy milk or dairy-free milk. For full baking, bake 20-22 minutes; remove pie weights after 15 minutes to allow the bottom to crisp fully. For par-baking, bake 10-12 minutes with weights, then another 2-3 minutes without.
Notes
- Use a gluten-free ‘measure-for-measure’ flour blend designed to replace regular flour one to one for best texture.
- Pie weights can be dried beans, rice, or specialized ceramic or metal weights.
- You can make the dough ahead and freeze it for future use; thaw overnight in the fridge before laminating.
- Laminating increases flakiness by creating layered pockets of butter within the dough.
- Do not stretch the dough when lining the pie dish to avoid shrinking or sinking crust during baking.
Keywords: gluten free pie crust, vegan pie crust, dairy free pie crust, easy pie crust, vegan baking, allergy friendly pie crust