
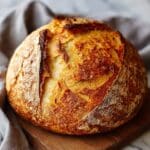
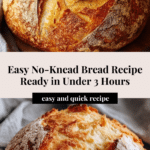
Quick And Easy No-Knead Bread Recipe
Introduction
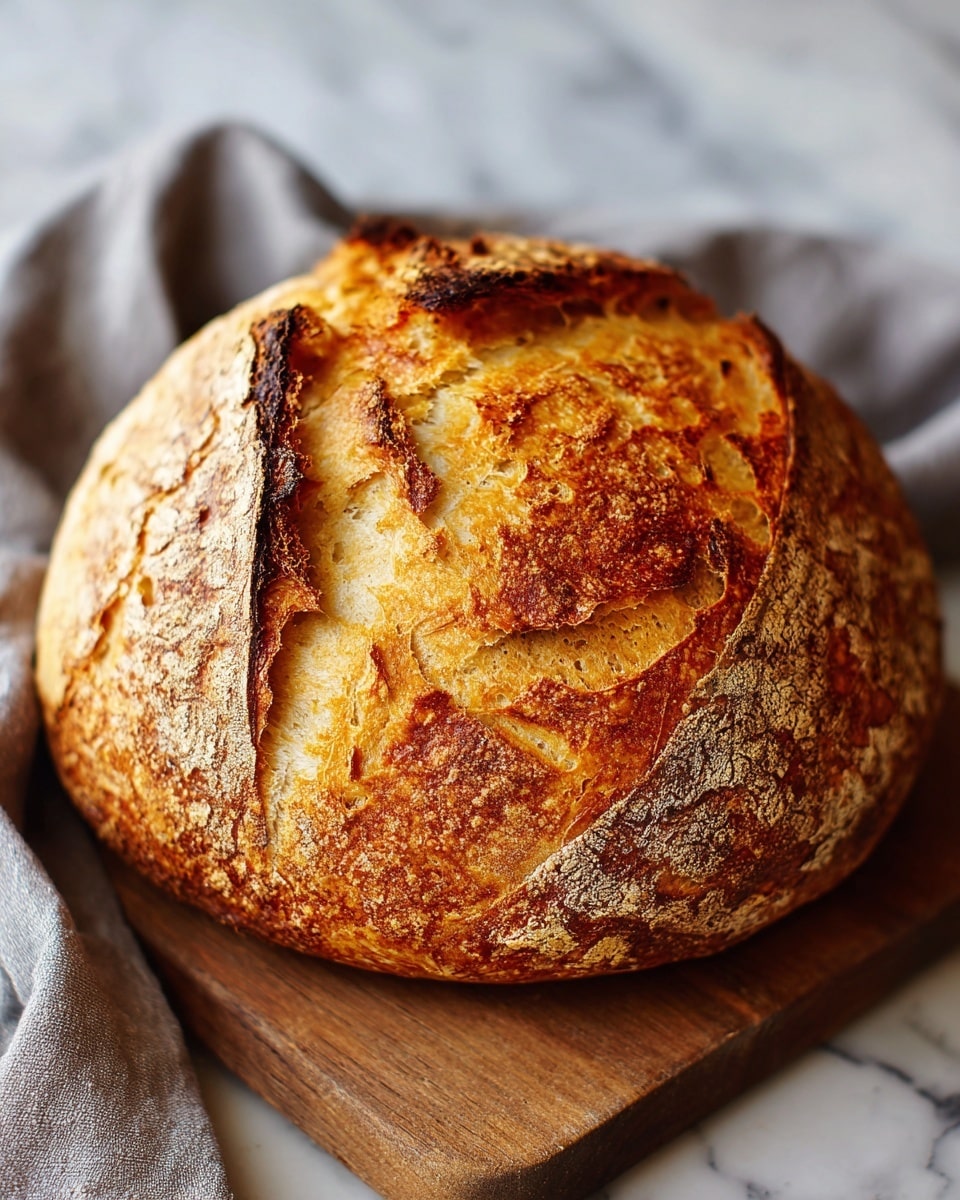
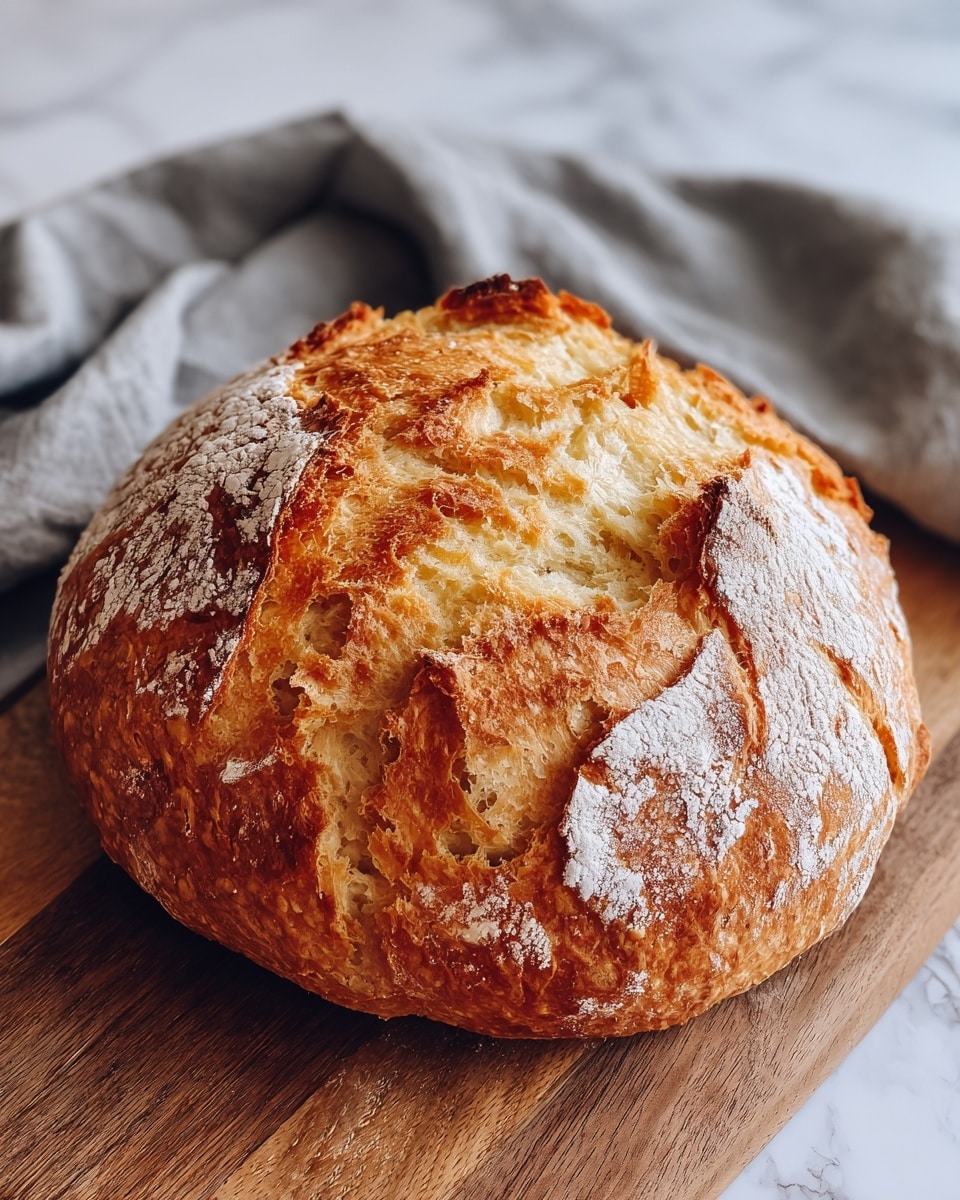
This quick and easy no-knead bread is perfect for beginners or anyone looking for a simple homemade loaf with minimal effort. With just a handful of ingredients and a little patience, you’ll have warm, crusty bread ready to enjoy in under three hours.
Ingredients
- 3 cups bread flour
- 1 packet (2 tsp) rapid rise yeast
- 1 ½ tsp salt
- 1 ½ cups warm water
Instructions
- Step 1: In a large bowl, mix the bread flour, rapid rise yeast, salt, and warm water using a wooden spoon or spatula until combined. The dough will be sticky. Cover the bowl with a damp cloth and let it rest in a draft-free spot, like a turned-off oven, for 2 to 3 hours until it doubles in size.
- Step 2: About 10 minutes before the dough finishes proofing, preheat your oven to 450°F and place a Dutch oven with the lid on inside to heat up.
- Step 3: Lightly flour your counter and gently turn the dough out onto it. Fold the sides inward about six times to shape it into a round loaf. Use flour on your hands if the dough sticks.
- Step 4: Transfer the shaped dough onto a piece of parchment paper using a dough scraper or large knife.
- Step 5: Carefully remove the hot Dutch oven from the oven. Place the dough along with the parchment paper inside the Dutch oven, leaving some parchment hanging over the edges for easy lifting.
- Step 6: Cover with the lid and bake for 30 minutes. Then remove the lid and bake for an additional 15 minutes until the bread turns golden brown and crusty.
Tips & Variations
- Use bread flour for better gluten development, but all-purpose flour can be substituted if needed.
- For extra flavor, add a tablespoon of herbs like rosemary or thyme into the dough before proofing.
- Allow the bread to cool fully before slicing to prevent a gummy texture inside.
Storage
Store the cooled bread in a paper bag at room temperature for up to two days to maintain the crust. For longer storage, wrap it tightly in plastic wrap and freeze for up to one month. Reheat in a 350°F oven for 10-15 minutes to refresh the crust before serving.
How to Serve
Serve this delicious recipe with your favorite sides.
FAQs
Can I use regular active dry yeast instead of rapid rise yeast?
Yes, you can. If using active dry yeast, dissolve it in the warm water first and let it sit for 5-10 minutes until bubbly before mixing with the flour and salt.
Do I have to use a Dutch oven to bake this bread?
While the Dutch oven creates the perfect steamy environment for a crispy crust, you can bake the dough on a preheated baking stone or sheet covered loosely with a large oven-safe bowl to trap steam.
PrintQuick And Easy No-Knead Bread Recipe
This Quick and Easy No-Knead Bread recipe delivers a homemade artisan-style loaf with minimal effort. Without the need for kneading, you simply mix the ingredients, allow the dough to proof, and bake it in a preheated Dutch oven to achieve a crispy crust and soft, airy crumb. Perfect for beginners or anyone who wants fresh bread with a rustic touch.
- Prep Time: 10 minutes
- Cook Time: 45 minutes
- Total Time: 2 hours 55 minutes
- Yield: 12 servings (1 loaf) 1x
- Category: Bread
- Method: Baking
- Cuisine: American
Ingredients
Ingredients
- 3 cups bread flour
- 1 packet (2 tsp) rapid rise yeast
- 1 ½ tsp salt
- 1 ½ cups warm water
Instructions
- Mix Ingredients: Combine the bread flour, rapid rise yeast, salt, and warm water in a large bowl using a wooden spoon or spatula. The dough will be sticky, which is normal for this no-knead recipe.
- Proof the Dough: Cover the bowl with a damp cloth and place it in a draft-free location like a turned-off oven. Let it rest for 2-3 hours until the dough has doubled in size.
- Preheat Oven and Dutch Oven: Before the proofing finishes, preheat your oven to 450°F (232°C). Place a Dutch oven with its lid inside the oven to heat up.
- Shape the Dough: Lightly flour your counter, then turn the dough out gently. Fold the edges of the dough inward about six times to form a round shape, using flour on your hands if necessary to prevent sticking.
- Transfer Dough: Using a dough scraper or a large knife, move the shaped dough onto a piece of parchment paper.
- Bake the Bread: Carefully remove the hot Dutch oven from the oven. Place the dough along with the parchment paper inside, making sure some parchment paper hangs over the edges for easy removal.
- Initial Bake with Lid: Cover with the lid and bake for 30 minutes. This traps steam to help develop a crispy crust.
- Final Bake without Lid: Remove the lid and bake for an additional 15 minutes until the bread is golden brown and crusty.
Notes
- This bread has a naturally chewy texture and a crispy crust due to baking in a covered Dutch oven.
- Make sure your water is warm, not hot, to activate the yeast without killing it.
- You can store leftover bread wrapped in a cloth at room temperature for up to 2 days.
- Let the bread cool completely before slicing for best texture.
- Experiment by adding herbs or garlic to the dough for different flavors.
Keywords: No knead bread, Artisan bread, Easy bread recipe, Dutch oven bread, Homemade bread


