
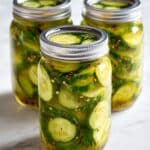
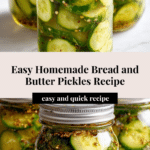
Bread and Butter Pickles Canning Recipe Made Easy Recipe
Introduction
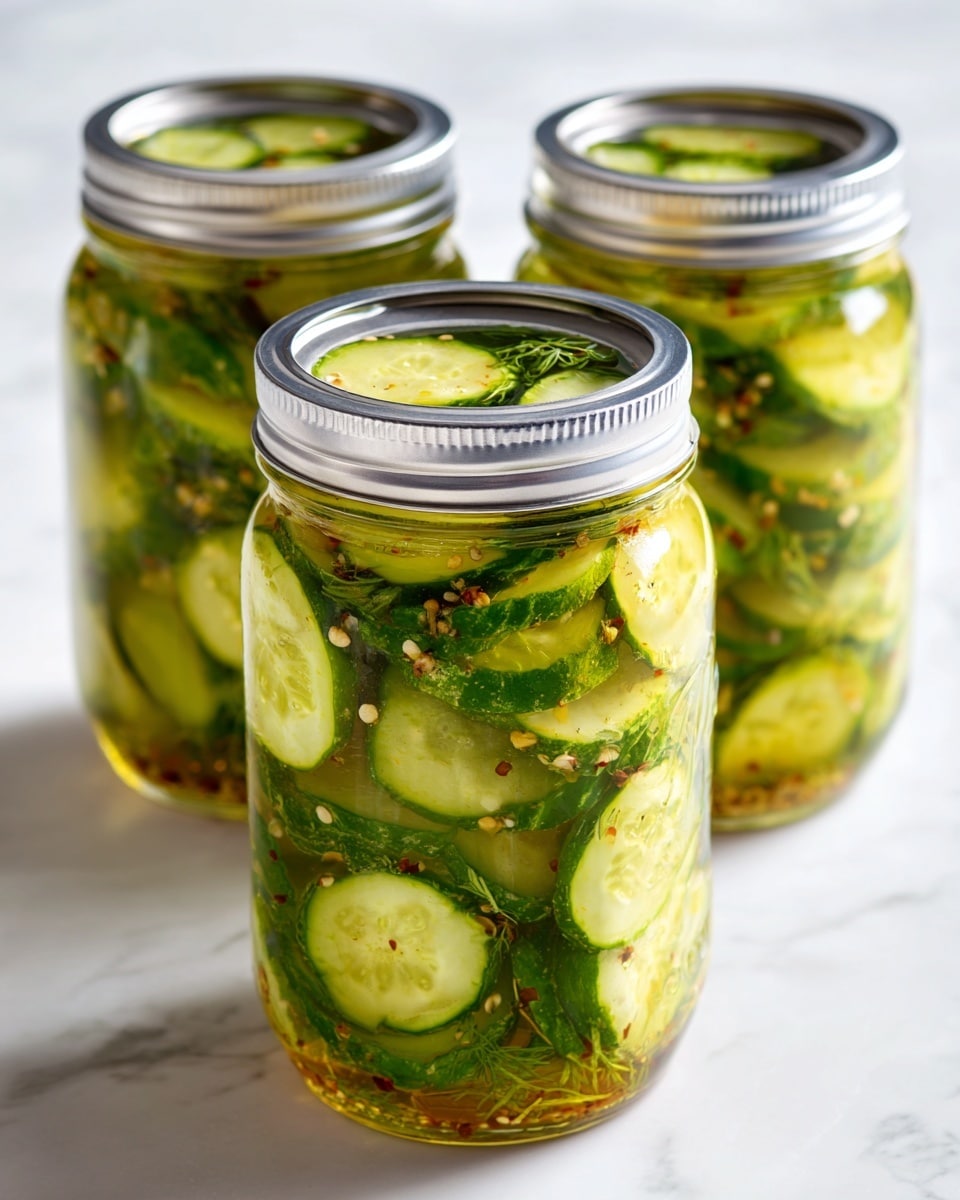
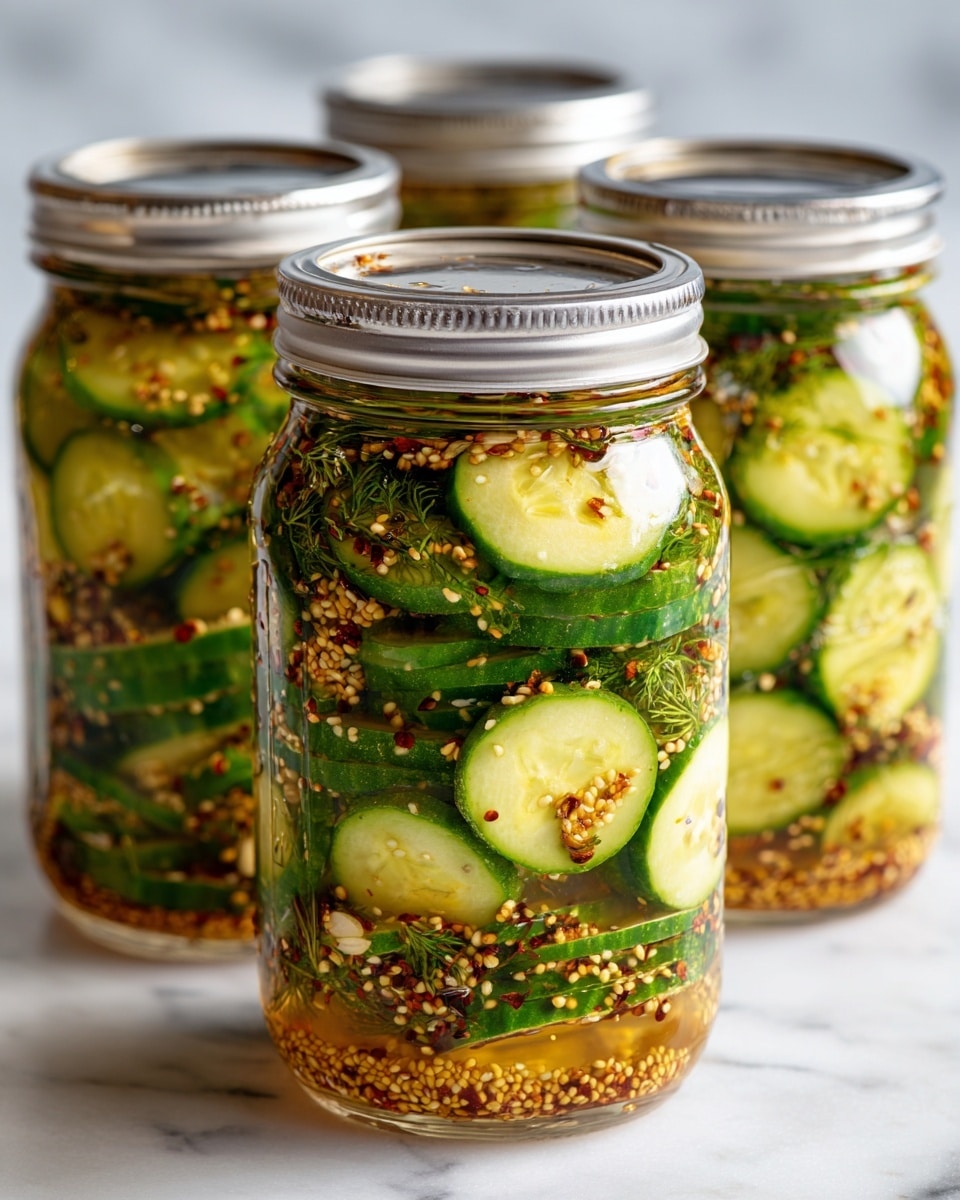
Bread and butter pickles are a deliciously sweet and tangy addition to any sandwich or snack. This easy canning recipe lets you preserve the perfect balance of crisp cucumbers and flavorful spices for homemade pickles that brighten up any meal.
Ingredients
- 4 cups cucumbers, sliced
- 1 cup onions, thinly sliced
- 1 cup apple cider vinegar
- 1 cup sugar
- 1 tablespoon mustard seeds
- 1 tablespoon celery seeds
- 1 teaspoon turmeric
- 1 teaspoon salt
Instructions
- Step 1: Prepare the cucumbers and onions by slicing them thinly.
- Step 2: In a large bowl, combine the cucumbers and onions, sprinkle with salt, and let sit for 2 hours.
- Step 3: In a saucepan, combine vinegar, sugar, mustard seeds, celery seeds, turmeric, and salt. Bring to a boil.
- Step 4: Drain the cucumbers and onions, then pack them into sterilized jars.
- Step 5: Pour the hot vinegar mixture over the cucumbers and onions, leaving a little headspace.
- Step 6: Seal the jars with lids and process in a water bath for 10-15 minutes.
- Step 7: Allow the jars to cool completely before storing them in a cool, dark place.
Tips & Variations
- For extra crunch, soak cucumbers and onions in ice water before salting.
- Try adding a few sliced jalapeños for a spicy twist.
- Use white vinegar instead of apple cider vinegar for a slightly different flavor.
Storage
Store sealed jars in a cool, dark place for up to one year. Once opened, keep refrigerated and consume within one month. Reheat is not necessary—serve the pickles cold or at room temperature for best flavor.
How to Serve
Serve this delicious recipe with your favorite sides.
FAQs
Can I use regular cucumbers for this recipe?
Yes, but pickling cucumbers or Kirby cucumbers are preferred as they stay firmer and are less watery, resulting in crispier pickles.
How long do I need to wait before eating the pickles?
While you can eat them after sealing, the flavors improve after at least one week of pickling, allowing the spices to fully develop.
PrintBread and Butter Pickles Canning Recipe Made Easy Recipe
This Bread and Butter Pickles canning recipe is a simple and delicious way to preserve cucumbers with a sweet and tangy flavor. Featuring thinly sliced cucumbers and onions marinated in a spiced vinegar solution, these pickles are perfect for sandwiches, burgers, or as a zesty snack. The recipe guides you through the process of salting, boiling the pickling liquid, and safely canning the jars via water bath, ensuring long-lasting, flavorful pickles.
- Prep Time: 15 minutes
- Cook Time: 10 minutes
- Total Time: 2 hours 25 minutes
- Yield: 4 servings (approximately four cups of pickled cucumbers and onions) 1x
- Category: Condiment
- Method: Canning
- Cuisine: American
- Diet: Vegetarian
Ingredients
Pickling Vegetables
- 4 cups cucumbers, sliced thin
- 1 cup onions, thinly sliced
Pickling Solution
- 1 cup apple cider vinegar
- 1 cup sugar
- 1 tablespoon mustard seeds
- 1 tablespoon celery seeds
- 1 teaspoon turmeric
- 1 teaspoon salt
Instructions
- Prepare Vegetables: Thinly slice cucumbers and onions as directed to ensure even pickling and flavor absorption.
- Salt the Vegetables: In a large bowl, combine the sliced cucumbers and onions. Sprinkle with 1 teaspoon salt and let them sit for 2 hours. This step draws out excess moisture and adds initial seasoning.
- Make Pickling Brine: In a saucepan, combine the apple cider vinegar, sugar, mustard seeds, celery seeds, turmeric, and salt. Bring the mixture to a boil to dissolve the sugar and activate the spices.
- Drain Vegetables: After 2 hours, drain the salted cucumbers and onions to remove excess liquid, preparing them for jarring.
- Pack Jars: Place the drained cucumbers and onions tightly into sterilized canning jars, leaving appropriate headspace for expansion during processing.
- Add Brine to Jars: Pour the hot pickling liquid over the packed vegetables, ensuring they are fully submerged while leaving some headspace.
- Seal and Process Jars: Seal jars with sterilized lids and process them in a boiling water bath for 10-15 minutes to ensure safety and shelf stability.
- Cool and Store: Allow the jars to cool completely to room temperature before storing in a cool, dark place where they can mature in flavor over time.
Notes
- Use fresh, firm cucumbers for the best texture in your pickles.
- Ensure jars and lids are properly sterilized to prevent spoilage.
- Adjust sugar levels to your preference for sweeter or tangier pickles.
- Allow pickles to sit for at least a week before consuming for full flavor development.
- Store jars in a cool, dark place to maintain quality and extend shelf life.
Keywords: bread and butter pickles, pickling, canning recipe, sweet pickles, cucumber pickles, homemade pickles
