
Brown Butter Pumpkin Snickerdoodle Cookies Recipe
Introduction
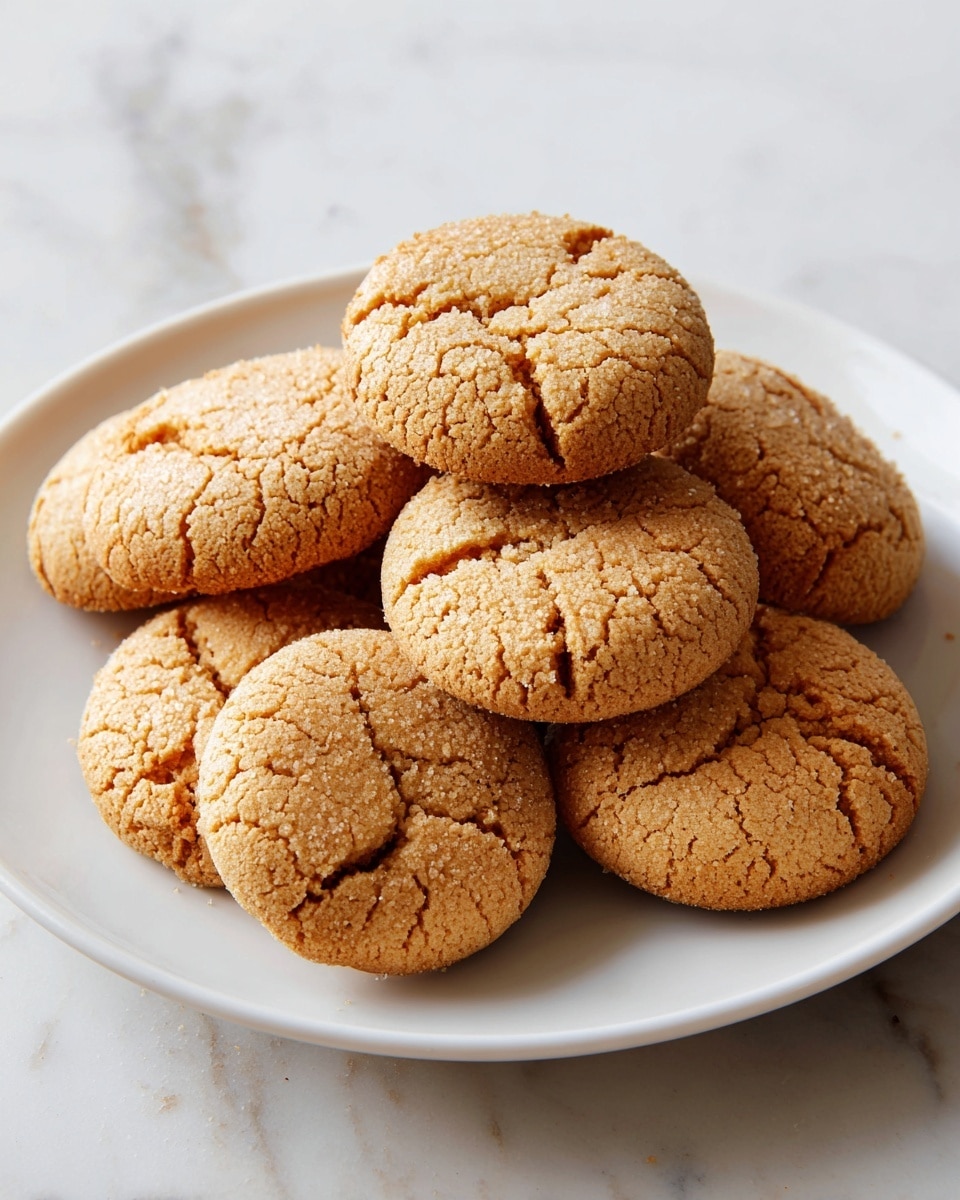
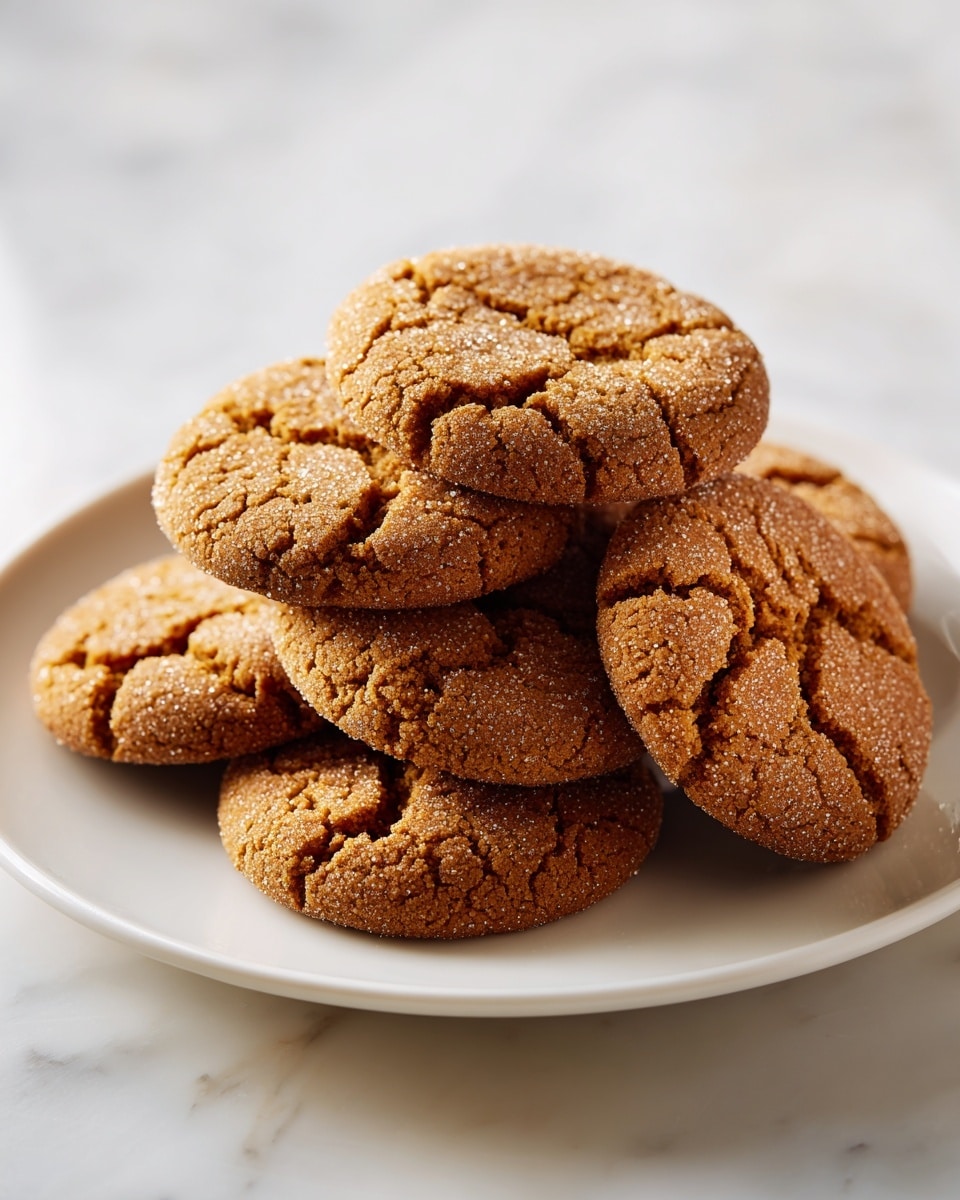
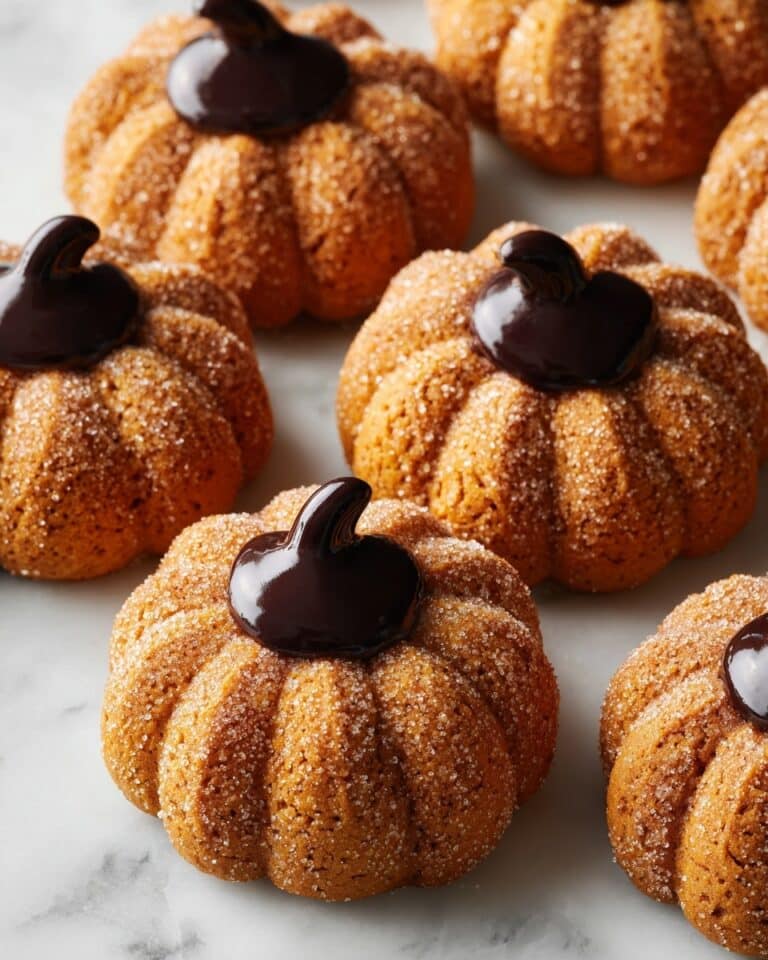
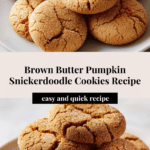
These Brown Butter Pumpkin Snickerdoodle Cookies bring a cozy twist to a classic favorite. With warm spices and rich browned butter, they’re perfect for fall or any time you crave a soft, flavorful cookie. Pumpkin adds moistness and depth for an irresistible treat.
Ingredients
- 2 1/2 cups all-purpose flour
- 1 teaspoon baking soda
- 1 teaspoon cream of tartar
- 2 teaspoons ground cinnamon
- 1/2 teaspoon ground ginger
- 1/2 teaspoon ground nutmeg
- 1/2 teaspoon ground cloves
- 1/2 teaspoon salt
- 1 cup unsalted butter
- 1/2 cup packed light brown sugar
- 1 cup granulated sugar
- 1/2 cup pumpkin puree
- 1 large egg yolk
- 1 teaspoon vanilla extract
- 1/4 cup granulated sugar (for coating)
- 1 teaspoon ground cinnamon (for coating)
Instructions
- Step 1: In a medium saucepan over medium heat, melt the unsalted butter, stirring frequently. Continue cooking until it foams and turns a golden brown with a nutty aroma. Remove from heat and transfer to a heatproof bowl to cool slightly.
- Step 2: In a large mixing bowl, whisk together the flour, baking soda, cream of tartar, cinnamon, ginger, nutmeg, cloves, and salt until well combined. Set aside.
- Step 3: In another bowl, cream the browned butter with the light brown sugar and granulated sugar until smooth and fully combined.
- Step 4: Add the pumpkin puree, egg yolk, and vanilla extract to the butter and sugar mixture. Mix thoroughly until everything is incorporated.
- Step 5: Gradually add the dry ingredients to the wet mixture, stirring gently until just combined. Avoid overmixing to keep the cookies tender.
- Step 6: Cover the dough and refrigerate for at least 30 minutes, or until it’s firm enough to roll into balls.
- Step 7: Preheat your oven to 350°F (175°C). Line baking sheets with parchment paper.
- Step 8: In a small bowl, combine 1/4 cup granulated sugar with 1 teaspoon ground cinnamon to make the coating mixture.
- Step 9: Scoop tablespoon-sized dough portions and roll them into balls. Roll each ball thoroughly in the cinnamon sugar coating.
- Step 10: Place the coated dough balls on the prepared baking sheets, spacing them about 2 inches apart. Flatten each slightly with the bottom of a glass for even baking.
- Step 11: Bake for 10 to 12 minutes, until the edges are lightly golden brown.
- Step 12: Let the cookies cool on the baking sheet for a few minutes, then transfer to a wire rack to cool completely.
Tips & Variations
- For extra depth, try adding a pinch of ground cardamom or allspice to the dry spices.
- Use homemade pumpkin puree for the freshest flavor if possible.
- Chilling the dough longer than 30 minutes can help prevent spreading and enhance texture.
- Swap the brown sugar for coconut sugar for a subtle caramel twist and a slightly healthier cookie.
Storage
Store cooled cookies in an airtight container at room temperature for up to 5 days. For longer storage, freeze them in a sealed container or bag for up to 3 months. Reheat gently in a warm oven or microwave for a few seconds to regain softness.
How to Serve
Serve this delicious recipe with your favorite sides.
FAQs
Can I use canned pumpkin puree for this recipe?
Yes, canned pumpkin puree works perfectly and ensures consistent moisture and flavor in the cookies.
Why is the butter browned before mixing?
Browned butter adds a rich, nutty aroma and deeper flavor that elevates these pumpkin snickerdoodles beyond the ordinary.
PrintBrown Butter Pumpkin Snickerdoodle Cookies Recipe
These Brown Butter Pumpkin Snickerdoodle Cookies combine the warm, spicy flavors of classic snickerdoodles with rich brown butter and seasonal pumpkin puree. The cookies are soft and tender with a perfectly crispy cinnamon sugar coating, making them a delightful autumn treat perfect for holiday baking or cozy fall afternoons.
- Prep Time: 20 minutes
- Cook Time: 12 minutes
- Total Time: 1 hour 2 minutes
- Yield: 24 cookies 1x
- Category: Dessert
- Method: Baking
- Cuisine: American
- Diet: Vegetarian
Ingredients
Dry Ingredients
- 2 1/2 cups all-purpose flour
- 1 teaspoon baking soda
- 1 teaspoon cream of tartar
- 2 teaspoons ground cinnamon
- 1/2 teaspoon ground ginger
- 1/2 teaspoon ground nutmeg
- 1/2 teaspoon ground cloves
- 1/2 teaspoon salt
Wet Ingredients
- 1 cup unsalted butter
- 1/2 cup packed light brown sugar
- 1 cup granulated sugar
- 1/2 cup pumpkin puree
- 1 large egg yolk
- 1 teaspoon vanilla extract
Cinnamon Sugar Coating
- 1/4 cup granulated sugar
- 1 teaspoon ground cinnamon
Instructions
- Browning the Butter: In a medium saucepan, melt the unsalted butter over medium heat. Stir frequently as the butter foams and starts to brown, releasing a nutty aroma. Once browned, remove from heat and pour into a heatproof bowl to cool slightly.
- Mixing Dry Ingredients: In a large mixing bowl, whisk together all-purpose flour, baking soda, cream of tartar, ground cinnamon, ginger, nutmeg, cloves, and salt until evenly combined. Set aside.
- Creaming Butter and Sugars: In another bowl, cream the browned butter with light brown sugar and granulated sugar until the mixture is smooth and well combined.
- Adding Wet Ingredients: To the butter and sugar mixture, add the pumpkin puree, egg yolk, and vanilla extract. Mix thoroughly until all ingredients are well incorporated.
- Combining Wet and Dry: Gradually add the dry ingredient mixture to the wet ingredients, stirring until just combined. Avoid overmixing to keep cookies tender.
- Chilling the Dough: Cover the dough and refrigerate it for at least 30 minutes, or until firm enough to roll into balls.
- Preparing to Bake: Preheat your oven to 350°F (175°C) and line baking sheets with parchment paper for easy cleanup and even baking.
- Preparing the Cinnamon Sugar Coating: In a small bowl, mix together granulated sugar with ground cinnamon to create the coating mixture.
- Coating the Dough Balls: Scoop tablespoon-sized portions of dough and roll them into balls. Thoroughly coat each ball in the cinnamon sugar mixture for that signature snickerdoodle crust.
- Shaping and Placing Cookies: Place the coated dough balls on the prepared baking sheets spaced about 2 inches apart. Slightly flatten each cookie with the bottom of a glass to ensure even baking.
- Baking the Cookies: Bake in the preheated oven for 10-12 minutes, or until the edges turn lightly golden brown.
- Cooling: Allow cookies to cool on the baking sheet for several minutes before transferring them to a wire rack to cool completely.
Notes
- Make sure to brown the butter carefully and remove it from heat promptly to avoid burning and bitterness.
- The dough needs chilling to firm up, which helps maintain shape and prevents spreading.
- Do not overmix the dough when combining wet and dry ingredients to keep the cookies tender.
- The cinnamon sugar coating is crucial for the classic snickerdoodle texture and flavor.
- Slightly flattening the dough balls before baking ensures even cooking and a nice cookie shape.
- These cookies store well in an airtight container at room temperature for up to 5 days.
Keywords: brown butter, pumpkin, snickerdoodle, cookies, fall dessert, cinnamon sugar, autumn baking
