
Classic Pickled Okra Recipe | Crisp & Tangy Recipe
Introduction
Classic pickled okra is a delightful Southern treasure—crisp, tangy, and full of flavor without the dreaded sliminess. This easy refrigerator pickle recipe produces crunchy okra perfect for snacking, garnishing, or gift-giving. With simple ingredients and straightforward steps, you’ll soon have jars of vibrant, spicy pickled okra to enjoy all year round.
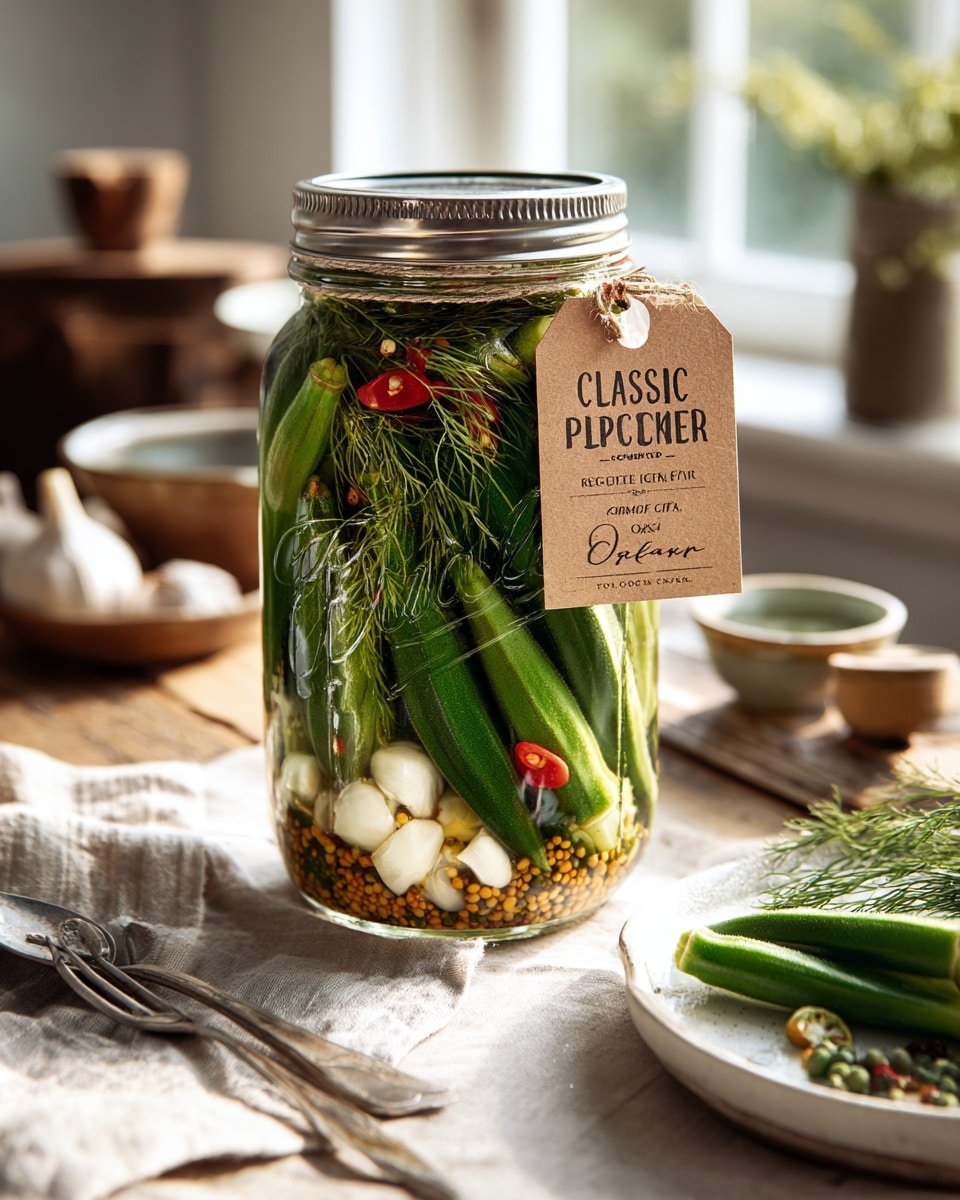
Ingredients
- 2 cups white distilled vinegar (5% acidity)
- 2 cups water
- 1/4 cup granulated sugar
- 2 tablespoons kosher salt (or pickling salt)
- About 10–12 whole okra pods per pint jar (small to medium, 2–4 inches long)
- 1 clove garlic, peeled and smashed per jar
- 1 teaspoon dill seeds or 1 fresh dill head per jar
- 1/2 teaspoon red pepper flakes (adjust to heat preference) per jar
- 1/2 teaspoon black peppercorns per jar
- 1 bay leaf per jar (optional)
Instructions
- Step 1: Wash the okra under cold running water, gently rubbing each pod to remove dirt or fuzz. Trim just the tough stem end with a sharp knife, leaving the cap intact to avoid releasing slimy mucilage.
- Step 2: Sanitize your jars and lids by washing them in hot, soapy water, rinsing well, then boiling them in water for 10 minutes. Keep the jars hot until ready to use.
- Step 3: Divide the garlic, dill seeds (or fresh dill), red pepper flakes, black peppercorns, and bay leaf among the jars. Pack the okra vertically with tips pointing up, snug but not crushed, leaving space for brine circulation.
- Step 4: In a saucepan, combine vinegar, water, sugar, and salt. Bring to a rolling boil, stirring until sugar and salt dissolve. Boil for 2 minutes, then remove from heat.
- Step 5: Pour the hot brine carefully over the packed okra, leaving about 1/2 inch headspace. Use a utensil to release trapped air bubbles. Wipe jar rims clean, seal with lids, and tighten bands fingertip-tight.
- Step 6: Let jars cool to room temperature, then refrigerate. Wait at least 48 hours before eating; a week will yield the best flavor and texture.
Tips & Variations
- Use boiling hot brine to blanch okra slightly, keeping it bright and crunchy.
- If no dill seeds are available, fresh dill sprigs work as a flavorful substitute.
- For a sweeter pickle, increase sugar to 1/3 cup and consider adding a cinnamon stick.
- Add sliced jalapeños and cumin seeds for a spicy Southwestern twist.
- Double the garlic cloves for a sweet, mild pickled garlic flavor.
- Mix in other vegetables like sliced carrots, cauliflower, or green beans for variety.
Storage
Store pickled okra in the refrigerator for up to 2–3 months. The flavor and crunch are best within the first few weeks. Always use clean utensils when removing okra to prevent contamination. No reheating is needed—enjoy cold straight from the jar.
How to Serve
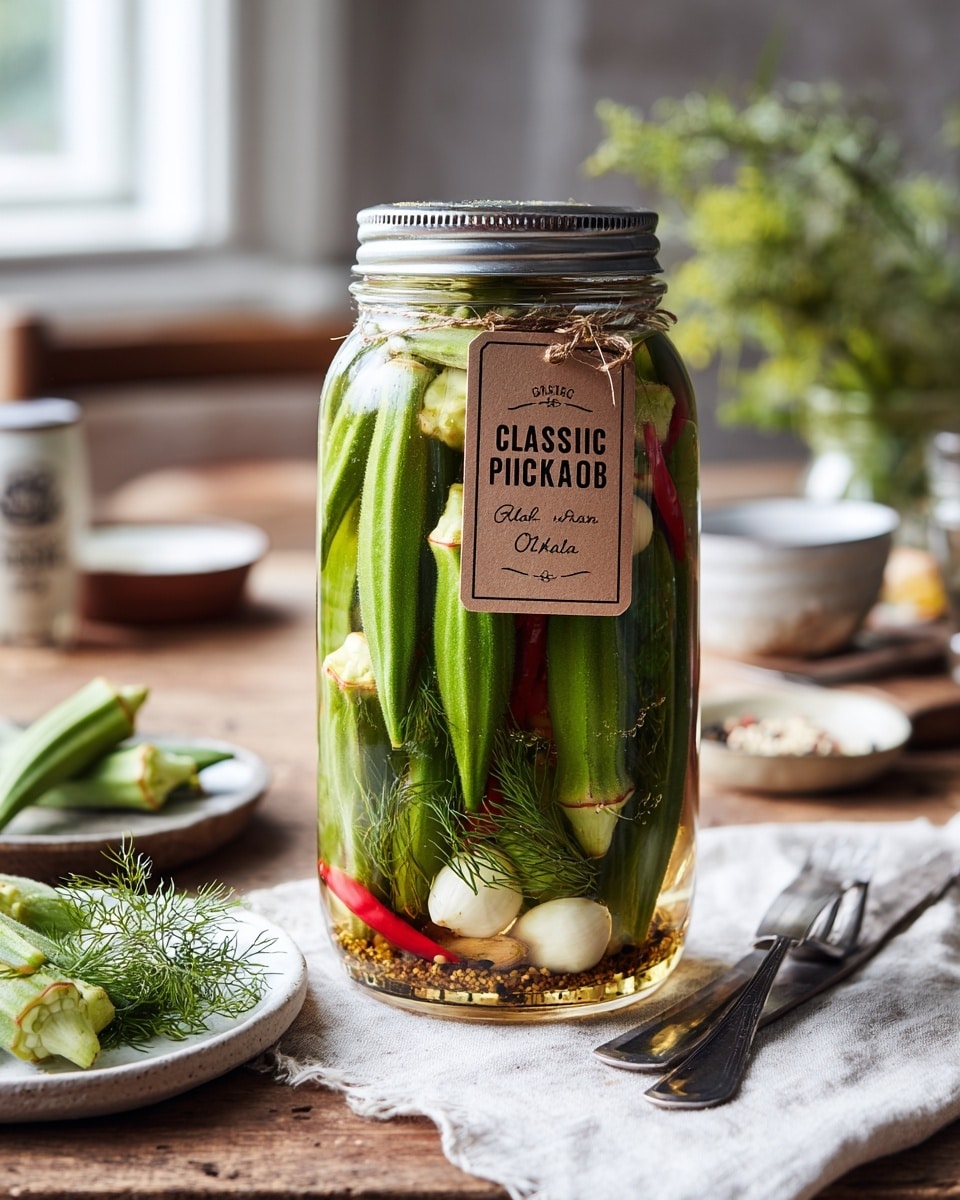
Serve this delicious recipe with your favorite sides.
FAQs
Why is my pickled okra slimy?
Sliminess comes from the okra’s natural mucilage, released if you cut into the pods instead of just trimming the stems. Using boiling hot brine and choosing small, fresh pods also helps keep the pickles crisp.
How long does pickled okra need to sit before eating?
Allow at least 48 hours for the flavors to develop, but a full week provides the best balance of tang and crunch.
PrintClassic Pickled Okra Recipe | Crisp & Tangy Recipe
This Classic Pickled Okra recipe offers a crunchy, tangy Southern treat that avoids the usual sliminess of okra by using a precise trimming and boiling brine technique. Perfect for beginners, it uses a balanced vinegar-based brine with spices like garlic, dill seeds, and red pepper flakes to create flavorful refrigerator pickles that keep well for months. Ideal as a snack, garnish, or addition to salads and charcuterie boards, it’s customizable to your preferred heat and sweetness levels.
- Prep Time: 20 minutes
- Cook Time: 10 minutes
- Total Time: 48 hours to 1 week (including refrigeration time)
- Yield: 2 pint jars 1x
- Category: Pickles/Preserves
- Method: Stovetop
- Cuisine: Southern American
- Diet: Vegetarian
Ingredients
Brine Ingredients
- 2 cups white distilled vinegar (5% acidity)
- 2 cups water
- 1/4 cup granulated sugar
- 2 tablespoons kosher salt (or pickling salt)
Per Pint Jar Ingredients
- 10–12 whole okra pods (small to medium, 2–4 inches long)
- 1 clove garlic, peeled and smashed
- 1 teaspoon dill seeds (or 1 fresh dill head)
- 1/2 teaspoon red pepper flakes (adjust to heat preference)
- 1/2 teaspoon black peppercorns
- 1 bay leaf (optional)
Instructions
- Prep Your Okra: Wash the okra pods thoroughly under cold running water, removing dirt and fuzz gently. Trim only the tough stem end, leaving about 1/4 inch stem attached to avoid releasing slimy mucilage. Choose fresh, firm, bright green okra that snaps when bent.
- Sanitize Your Jars: Clean jars and lids in hot, soapy water, rinse well, then boil them in water for 10 minutes or sanitize in a hot dishwasher cycle. Keep jars hot for filling to prevent cracking.
- Pack Those Jars: Evenly divide garlic, dill seeds, red pepper flakes, peppercorns, and bay leaf into each jar. Pack okra vertically with tips up, snug but not crushed, allowing space for brine circulation.
- Make the Brine: In a saucepan, combine vinegar, water, sugar, and salt. Bring to a rolling boil while stirring to dissolve sugar and salt completely. Boil for 2 minutes then remove from heat. Do not add spices to the brine.
- Pour and Seal: Pour hot brine over packed okra jars, leaving about 1/2 inch headspace. Use a clean utensil to release air bubbles. Wipe jar rims clean, then place lids and bands, tightening to fingertip-tightness.
- Cool and Refrigerate: Let jars cool to room temperature on countertop, then refrigerate. Allow at least 48 hours for flavor development, ideally one week for best taste and texture.
Notes
- Use boiling hot brine to slightly blanch okra and preserve color and crunch.
- Leave a small portion of the stem on the okra pod to prevent sliminess.
- Small fresh okra pods (2-4 inches) provide best crunchy texture.
- Refrigerate pickles; do not store at room temperature as this is a refrigerator pickle recipe.
- Flavors improve with longer refrigeration, up to 2-3 months, but consume within this period for best quality.
- Can customize heat by adjusting red pepper flakes or adding jalapeño slices.
- Don’t overcrowd jars to ensure even brining.
- For sweeter pickles, increase sugar to 1/3 cup and consider adding cinnamon stick.
- Replace dill seeds with fresh dill heads for more aromatic flavor.
- Frozen okra is not recommended as it results in mushy texture.
- If okra floats above brine, gently shake jars occasionally to redistribute.
Keywords: pickled okra, Southern pickles, refrigerator pickles, crunchy okra, spicy pickled okra, easy pickling, homemade pickles, fermented okra