
Thrifty Homemade Sandwich Bread Recipe
If you have ever dreamed of biting into a fresh, soft, and perfectly golden slice of homemade bread without breaking the bank, then you are in the right place. This Thrifty Homemade Sandwich Bread recipe is exactly that—an incredibly affordable, simple-to-make loaf that fills your kitchen with that warm, irresistible aroma and delivers a tender crumb that elevates any sandwich or toast. The beauty of this bread is how its basic pantry staples transform into something truly satisfying and versatile, making it a staple you’ll return to again and again.

Ingredients You’ll Need
This recipe keeps things straightforward, relying on a handful of familiar ingredients that each play a crucial role in the final loaf’s flavor, texture, and appearance. Whether you’re a baking novice or a seasoned pro, these essentials will help you create a bread that’s just as delicious as it is budget-friendly.
- 1 cup hot water: Warm but not scalding, this activates the yeast to help your dough rise beautifully.
- 2 Tbsp Sugar: Balances the yeast’s natural tang and aids fermentation for a tender crumb.
- 2-3/4 tsp yeast (1 packet + 1/2 tsp): Your rising agent that gives the bread that perfect airy texture.
- 3 cups all-purpose flour OR bread flour: The foundation of your bread, with bread flour creating a chewier texture if you prefer.
- 1/4 cup vegetable oil: Adds moistness and a soft crumb, helping keep your bread fresh longer.
- 1-1/2 tsp salt: Enhances flavor while balancing the sweetness and helping with dough structure.
How to Make Thrifty Homemade Sandwich Bread
Step 1: Bloom the Yeast
Start by mixing your hot water, sugar, and yeast together. Letting this sit for about 10 minutes until it bubbles and foams is key—this bloom is a sign your yeast is alive and kicking, ready to give your dough that essential rise.
Step 2: Combine Ingredients and Form Dough
Pour the yeast mixture into a stand mixer fitted with a dough hook, then add the vegetable oil, salt, and flour a cup at a time. Mixing gradually helps achieve the right dough consistency without overloading your mixer. If you don’t have a stand mixer, simply mix by hand and then knead—both methods work wonderfully here.
Step 3: Knead Until Perfect
Keep mixing for several minutes until the dough clings to the hook and pulls away from the bowl’s sides without sticking. Then mix another few minutes to develop the gluten for a pliable, elastic dough that will rise well.
Step 4: First Rise
Form your dough into a ball and place it in a lightly greased bowl, covering with a kitchen towel. Let it rise somewhere warm and draft-free for about an hour and a half or until doubled. Want to speed things up? I love using the yogurt setting on my Instant Pot—it cuts the rise time in half without affecting the bread’s flavor or texture.
Step 5: Shape the Dough
Once risen, punch down the dough to release the air, then gently shape it into an oval loaf. Tuck the seams under to create tension on top; this helps your bread rise beautifully in the pan.
Step 6: Prepare for Second Rise
Place your shaped dough into a greased loaf pan. Cover loosely with plastic wrap, lightly sprayed with oil to prevent sticking, and let it rise again until just about doubled—usually about an hour. This second rise builds that lovely height and a soft texture.
Step 7: Bake to Perfection
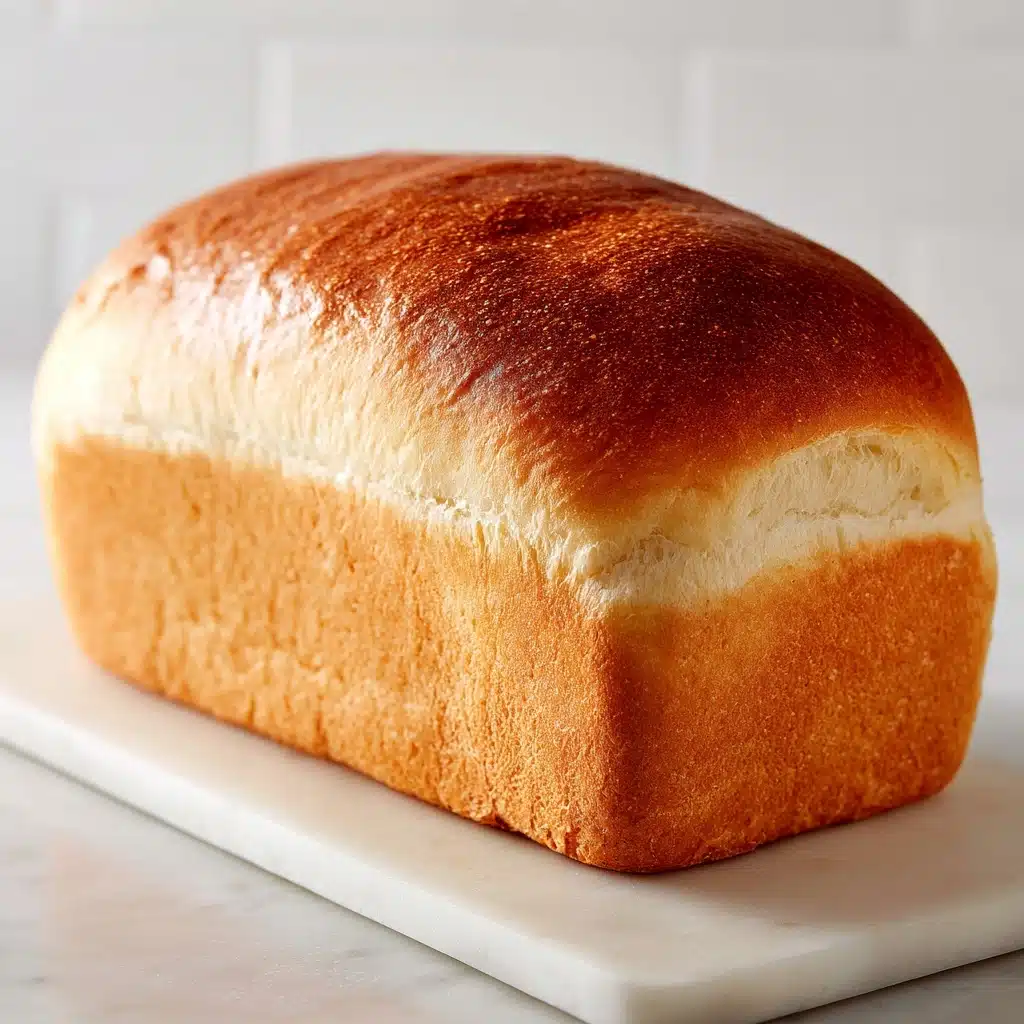
Bake your loaf at 350 degrees Fahrenheit for roughly 25 minutes. The perfect baked bread should have an internal temperature of about 190 degrees Fahrenheit—using an instant-read thermometer here is a great way to ensure your loaf isn’t underbaked or overdone. When done, the crust will be golden brown and ready to cool.
How to Serve Thrifty Homemade Sandwich Bread
Garnishes
This bread’s mild flavor makes it a brilliant canvas for a variety of garnishes. Try brushing the crust with melted butter as soon as it comes out of the oven for a shiny, soft finish or sprinkle some sesame seeds on top before baking for a delightful crunch and extra visual appeal.
Side Dishes
Wondering what pairs well with your freshly baked bread? It’s perfect alongside soups, stews, or hearty salads. The soft, slightly sweet crumb absorbs flavors wonderfully, making it ideal for dipping or mopping up your favorite dinner sauces.
Creative Ways to Present
Slice your loaf thick and toast it to perfection for sandwiches packed with your favorite fillings, from classic turkey and cheese to avocado and sprouts. Or make a batch of cinnamon sugar toast to start the morning with a cozy, sweet twist on this thrifty homemade bread.
Make Ahead and Storage
Storing Leftovers
To keep your bread fresh, store it in an airtight container or tightly wrapped in plastic wrap at room temperature for up to three days. The oil in the dough helps maintain its softness, so no need to rush through your loaf.
Freezing
If you want to save this bread for later, wrap it tightly in plastic wrap, then in foil, and freeze for up to three months. When you’re ready, thaw it overnight on the counter to enjoy that perfect freshly baked taste anytime.
Reheating
Reheat slices in a toaster or toaster oven for a few minutes to revive that delightful crust and soft interior. For a whole loaf, warming it in the oven at 300 degrees Fahrenheit for 10-15 minutes wrapped in foil works like a charm.
FAQs
Can I use whole wheat flour instead of all-purpose flour?
Absolutely! Replacing some or all of the all-purpose flour with whole wheat adds a lovely nutty flavor and extra nutrients. Just keep in mind the bread might be slightly denser, so you may want to increase the water a little to compensate.
What if my yeast doesn’t bloom?
If you don’t see bubbles or foam after 10 minutes, your yeast might be expired or the water temperature could be off. Try again with fresh yeast and ensure the water is warm, not hot, as too-high temperatures can kill the yeast.
Can I speed up the rising time?
Yes! Using a warm environment helps, like an oven with the light turned on or the yogurt setting on an Instant Pot. You can also try proofing in a sunny spot indoors. Just avoid drafts or cold areas, as these slow down yeast activity.
Is a stand mixer necessary?
Not at all. A stand mixer makes kneading easier and quicker, but you can mix by hand and knead on a lightly floured surface. It’s a wonderful way to feel the dough’s texture throughout the process.
How do I know when the bread is fully baked?
Baking times vary a bit, so the best indicator is the internal temperature—aim for about 190 degrees Fahrenheit. Also, the loaf should sound hollow when tapped on the bottom. Both signs mean you’ve got a perfectly baked, golden sandwich bread.
Final Thoughts
This Thrifty Homemade Sandwich Bread recipe is truly a gem for anyone who loves fresh bread without fuss or fancy ingredients. The joy of baking your own loaf that rises beautifully, tastes fantastic, and stretches your budget is something you deserve to experience. So grab your ingredients and dive into this warm, comforting adventure—you won’t regret sharing this bread with friends and family.
PrintThrifty Homemade Sandwich Bread Recipe

This Thrifty Homemade Sandwich Bread is a simple, budget-friendly recipe that yields a soft, flavorful loaf perfect for sandwiches and everyday use. Made with basic pantry ingredients like yeast, flour, sugar, and vegetable oil, this bread is easy to prepare and ideal for bakers of all skill levels.
- Prep Time: 20 minutes
- Cook Time: 25 minutes
- Total Time: 2 hours 15 minutes
- Yield: 1 loaf (about 12 slices) 1x
- Category: Bread
- Method: Baking
- Cuisine: American
- Diet: Vegetarian
Ingredients
Liquids and Yeast
- 1 cup hot water (warm, not scalding)
- 2–3/4 tsp active dry yeast (1 packet + 1/2 tsp)
- 1/4 cup vegetable oil
Dry Ingredients
- 2 Tbsp sugar
- 3 cups all-purpose flour OR bread flour
- 1 1/2 tsp salt
Instructions
- Bloom Yeast: Mix the hot water, sugar, and yeast in a bowl and stir gently. Let the mixture sit for about 10 minutes until the yeast becomes foamy and ‘blooms,’ indicating it is active and ready.
- Combine Ingredients: Pour the yeast mixture into a stand mixer bowl. Add vegetable oil, salt, and flour one cup at a time. Use the dough hook attachment to mix, or alternatively use a hand mixer and later knead by hand.
- Knead the Dough: Continue mixing until the dough clings to the hook and pulls away cleanly from the bowl, about 3-4 minutes after the dough stops sticking. This ensures gluten development for a good rise.
- First Rise: Remove the dough, shape into a ball, and place it in a lightly oiled bowl. Cover with a clean kitchen towel and let it rise in a draft-free spot for about 1.5 hours until doubled in size. Alternatively, use the yogurt setting on an Instant Pot to speed this rise.
- Punch and Shape: Punch down the risen dough to release air bubbles. Shape it into a smooth oval loaf and tuck the seams underneath.
- Prepare to Proof: Place the dough into a greased loaf pan. Cover loosely with plastic wrap sprayed lightly with cooking oil to prevent sticking.
- Second Rise: Allow the dough to rise a second time until nearly doubled, approximately 1 hour.
- Bake: Preheat the oven to 350°F (175°C). Bake the loaf in the pan for approximately 25 minutes or until an instant-read thermometer inserted in the center registers about 190°F (88°C). Let cool before slicing.
Notes
- Water should be warm but not hot to avoid killing the yeast.
- You can use all-purpose or bread flour depending on availability; bread flour will yield a chewier texture.
- Use an instant-read thermometer to check for doneness precisely.
- For quicker rising times, proof the dough inside a warm oven or Instant Pot on a yogurt setting.
- Store bread in an airtight container or bag once cooled to maintain freshness.
Nutrition
- Serving Size: 1 slice (1/12th of loaf)
- Calories: 140
- Sugar: 2 g
- Sodium: 210 mg
- Fat: 4 g
- Saturated Fat: 0.5 g
- Unsaturated Fat: 3 g
- Trans Fat: 0 g
- Carbohydrates: 23 g
- Fiber: 1 g
- Protein: 4 g
- Cholesterol: 0 mg
Keywords: homemade bread, sandwich bread, easy bread recipe, no-knead bread, budget bread


